Dogbane Explorations

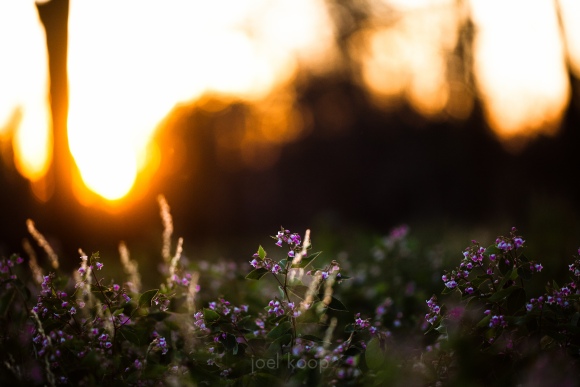
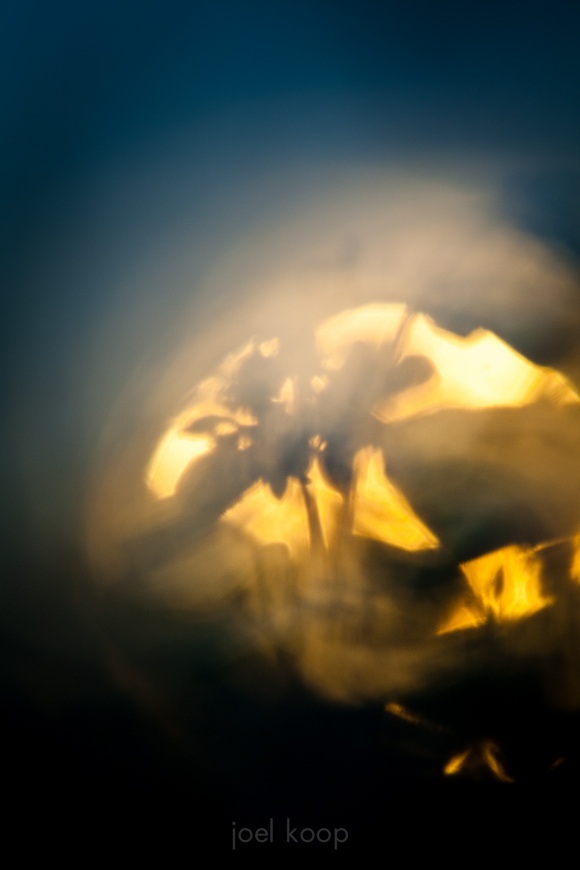
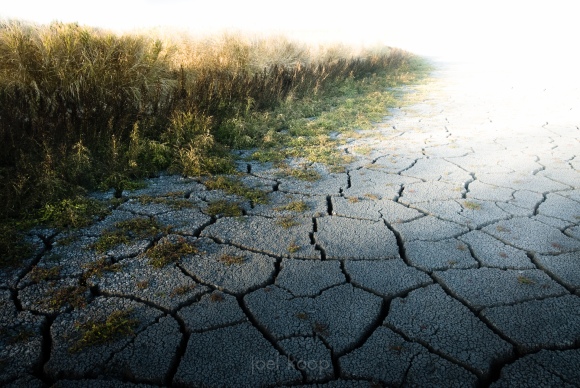
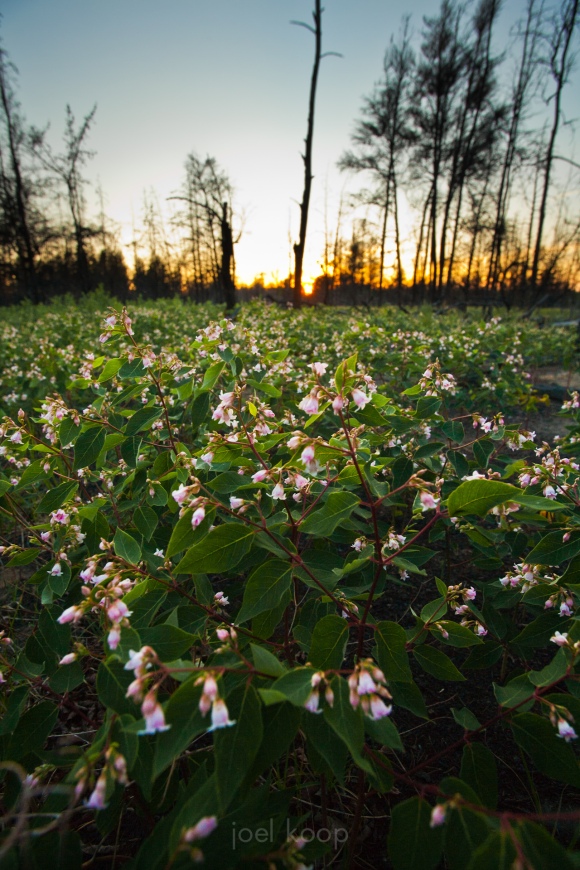
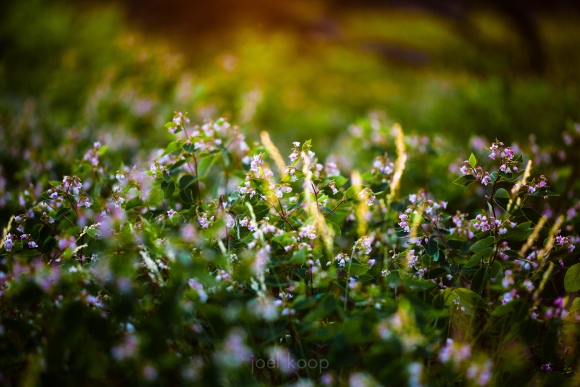
Below are a series of photos exploring a field of Spreading Dogbane (Apocynum androsaemifolium). These are all taken from the same place, at the same time of day. As I’m taking photos, I often move from the literal – capturing a scene as one would usually see it (hopefully with a pleasing composition) and move towards the abstract. Often what I’m after is the abstract photo, but sometimes the original, more traditional landscape is the one that wins out when I’m evaluating them afterwards. It often takes me months to discover if I’m happy with a photo or not. And blogging them is part of this process. I blog photos that I initially think are pretty good, and the ones I’m still happy with in a couple months will likely go in my portfolio.


Flowing Water and Shutter Speeds

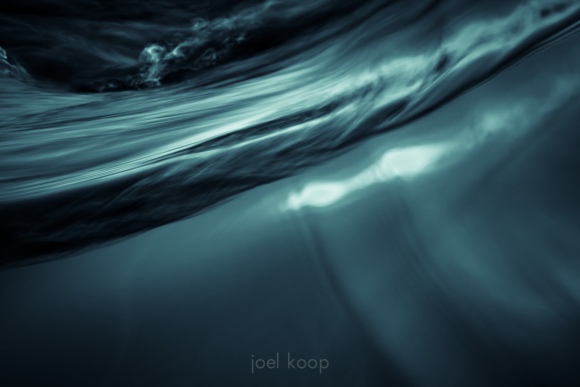
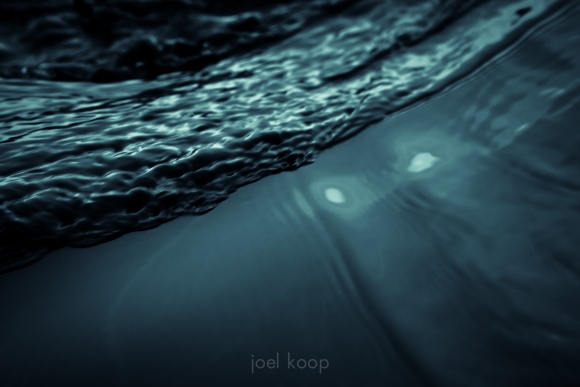
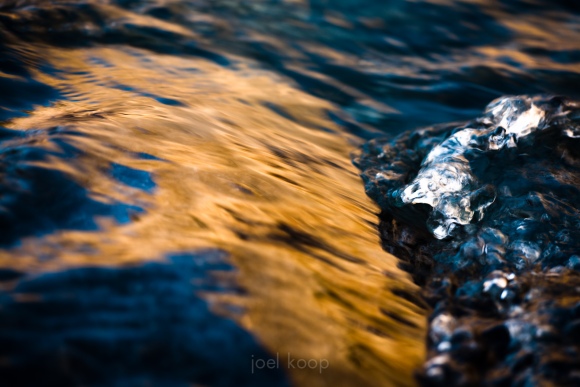
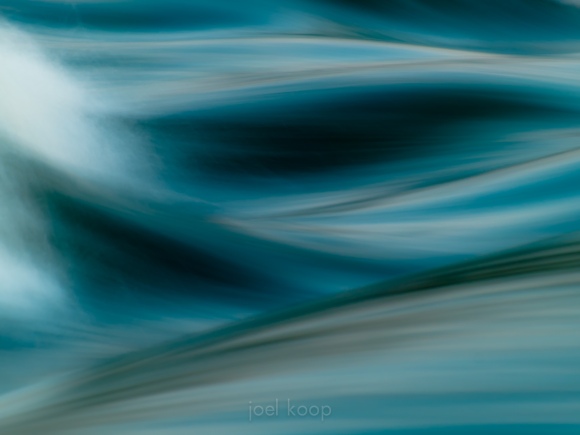
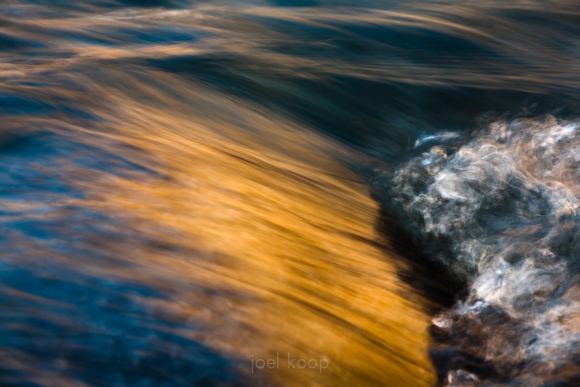
Returning to what seems to be my favorite subject. There are always hard decisions to be made when capturing any scene, and with this one it was shutter speed. There are things I like about both of these – I like the flow of the first, but in the second I like where the smooth water meets the ripples. I think the second is a little more unusual. Which do you like best?

1/8 of a second.


1/200 of a second.

Water near the weir at Beaverhill Lake. I had to slog through a swamp for quite a long way to get here. On the way back I found out that by going around to the north I could have avoided most of the water.

Motion and Shutter Speed

Today’s post is something a little different for me. A friend is interested in practicing her photography skills, and specific assignments are much easier to be motivated about than some abstract notion of trying to get better at photography. So today we start with the shutter speed assignment. These assignments are very loosely based on some of the photography assignments we had in Design 390 at U of A. Since I’m predominantly a nature photographer, my examples will mostly be nature. These concepts apply to any type of photography, and if you apply them to the kind of photography you want to do, you’ll learn more than if you try to duplicate these.

The goal of this little photography lesson is that when you come across something moving in your photographic adventures, you are equipped to make creative and smart decisions about how to capture it. If you just read through this and think about it, you’ll be able to make the decision. If you do the assignment, you’ll be able to follow through and actually get the shot you’re hoping for.

Shutter speed is a pretty basic concept, but the situations in which it has an effect can be pretty complicated. The shutter speed is the length of time that light can hit the sensor (or film). The shutter (in most SLRs) is made up of two curtains (one connected to the top, one connected to the bottom) that control this length of time. The longer that light hits the sensor, the brighter the picture will be — this is how shutter speed affects exposure (there are two other things that affect exposure—aperture and ISO, but we’re just focusing on shutter speed for now). If the scene changes while the shutter is open, you will get a blurred image. This is where it starts to get interesting.

Sharp Photos

Usually, people want an image they’ve taken to be sharp. This requires one of two simple measures.

1. Make sure your shutter speed is fast enough by manipulating your ISO and Aperture.

“Fast enough”, if nothing is moving, is generally considered to be 1/the focal length of your lens if you’re holding the camera as still as possible. So with a 300mm lens you want at least 1/300 of a second, for a 24mm lens you want at least 1/24 of a second. Image stabilization can occasionally save your photo if you can’t get shutter speeds quite this fast, but it’s not smart to rely on it.

If you have fast moving subjects like cars or flying birds, you’ll probably need even faster shutter speeds to freeze the motion.

Shutter Speed: 1/1000 of a second
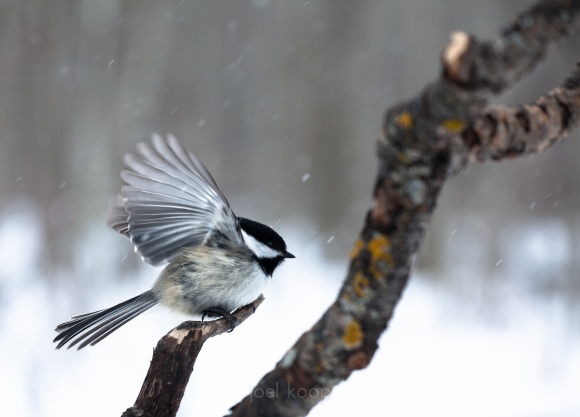
Shutter Speed: 1/800 of a second – this didn’t totally freeze the tip of the wing or the snow flakes, but pretty close.
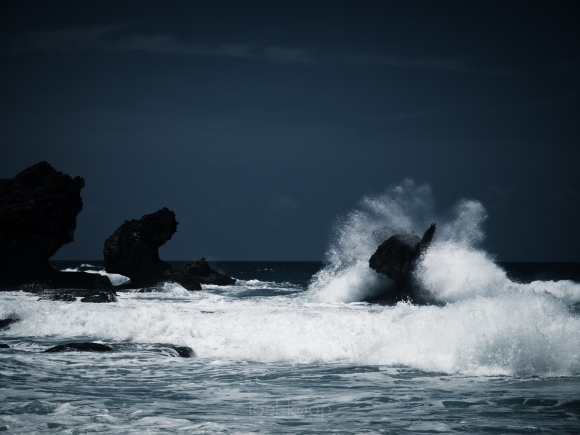
Shutter Speed: 1/100 of a second – in this case, fast enough to freeze the motion of the water.

2. Put your camera on a tripod, and make sure nothing in the scene is moving.

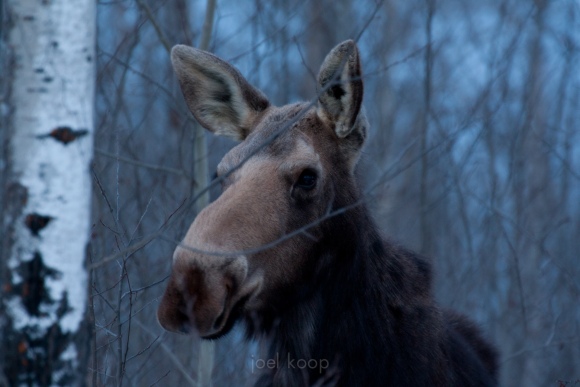
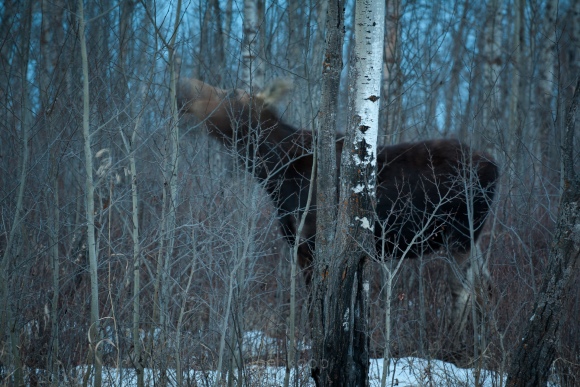
Shutter Speed: 1.3 seconds on a tripod – the moose stood perfectly still

Blurred Photos

Sometimes though, sharp pictures are boring. If you’ve got something moving, why not show it moving? This is where you start to get into the art of shutter speed. How much you want to blur things is completely up to you. And you have to experiment a lot to know how much something is going to blur.

There are two main ways to show motion.
1. Let the object that is moving blur and keep the scene sharp.

For this you probably need a tripod. If you’re keeping your shutter speed slow enough to blur motion, it is often too slow to hand hold the camera and get a sharp background. If the camera is locked down on a solid tripod, your shutter speed can get as long as you want, and the still things in the scene will be sharp

Shutter Speed: 1.6 seconds on a tripod.
Shutter Speed: .7 seconds on a tripod – even though there are no still parts in this image, the pattern of the flowing water was constant enough that it gave me smooth lines. Without a tripod, these lines would not have been so defined.
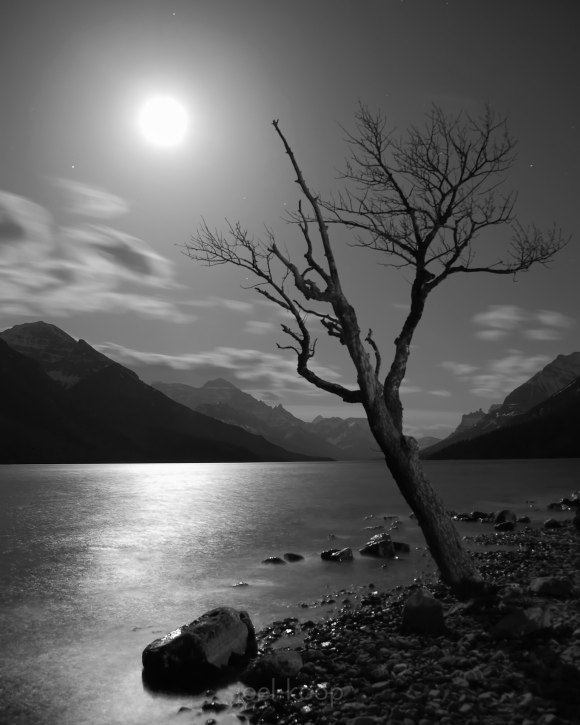
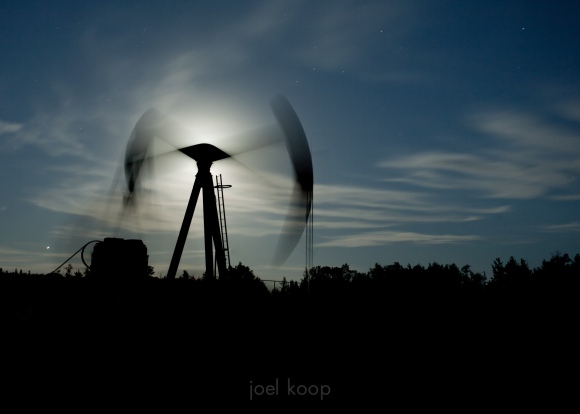
Shutter Speed: 20 seconds – the long exposure blurred the clouds
Shutter Speed: 1/4 of a second – the water blurred quite nicely at this shutter speed.
Shutter Speed: 3.2 seconds – during a pretty crazy wind storm
Shutter Speed: 30 seconds

2. Move your camera with the moving subject to try to get it sharp, and let the background blur. Depending on the circumstances, this can range from fairly easy to completely impossible.

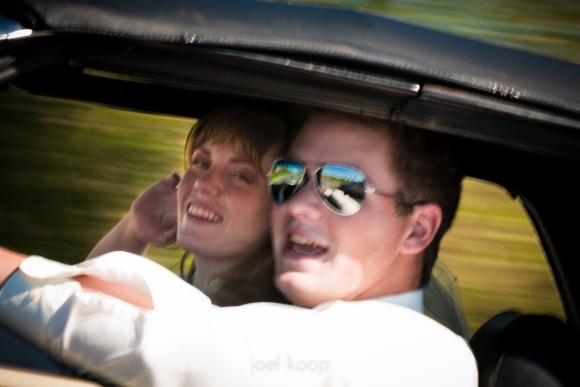
Shutter Speed: 1/125 of a second – This was at highway speeds, so this shutter speed was slow enough to blur. On the other hand, it was taken with a 150mm lens and the road was bumpy, so I wasn’t able to get the people perfectly sharp.
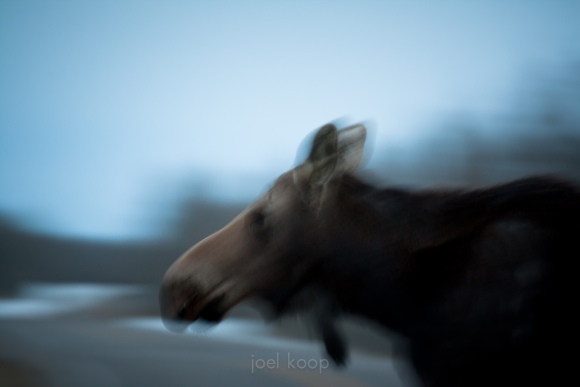
Shutter Speed: 1/6 of a second – I had my camera on a tripod to try to keep my camera still vertically while panning horizontally with the motion of the moose.

More Blurred Photos

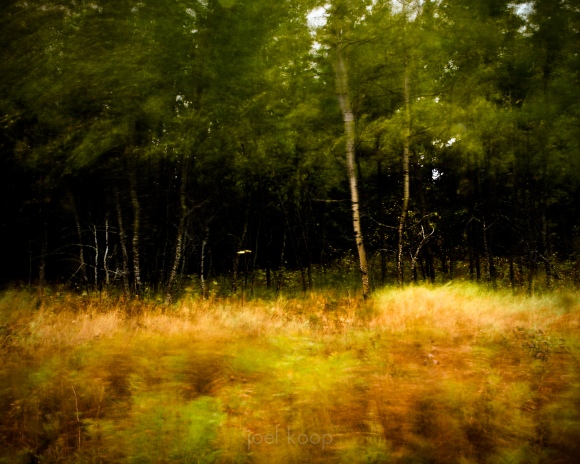
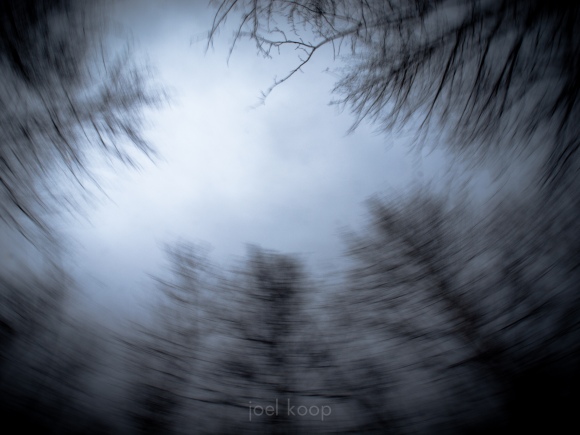
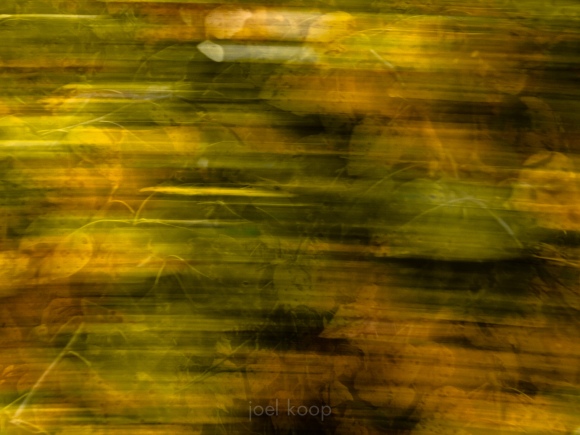
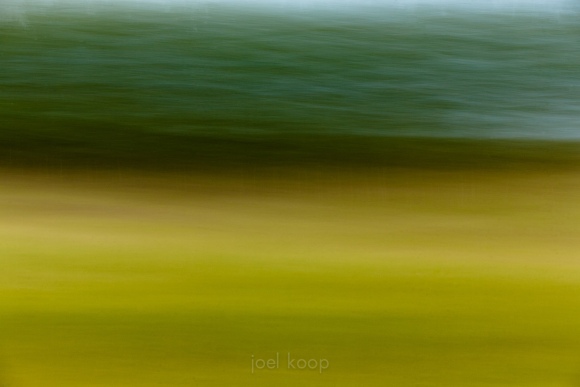
You can also create motion by moving the camera even when everything in the scene is unmoving.

Shutter Speed: 1/25 of a second.
Shutter Speed: 1/2 a second.
Shutter Speed: 2.5 seconds.

The Assignment

Find or create a moving subject — all photos should have the same subject. This could be absolutely anything. You can cause it to move, nature could cause it to move, other people could be moving it. Then start taking photos. I know this adds pressure, but try to make the photos interesting: well composed, well lit, with an engaging subject. It is possible that you’ll end up taking a lot more time thinking of moving things that would make awesome photos than actually taking the photos. This is the way it should be.

The deliverables are:
1. Sharp photo that shows motion. But it should be obvious that the object is moving. A ball in the air is obviously moving, where a ball on the floor could be moving or could be still.
2. A photo that blurs the subject.
3. A photo that blurs the background, and has the subject relatively sharp.

Something to think about:
What are the implications of each shot? Is the subject or the environment highlighted? Is one more important than the other? Does one photo seem more active than another? Are you caught up in the action, or are you a bystander?
Ruminations

I’ve enjoyed posting a lot of photos lately, but I’m starting to think the quality is suffering. The nature of every-day posting is that it removes the process of carefully thinking about the photo, the mental processing.

I will continue to post photos, but on a more leisurely schedule. I hope this will make the experience of coming here better for everyone!

One last daily photo—this is from a couple months ago in Cooking Lake Recreation Area.

More Highlight Experimentation

Which do YOU like better? I’ve been going back to some of my older photos and trying this blowing-out-the-highlights thing. It’s a little different, and I’m still not completely sure what I think about it. So today I’m going to post two photos—from the same place, same time, and slightly different compositions.

Here’s the new one that I’m still getting used to:


Here’s the old one—this is the way things are usually done for landscape photography. I actually put my camera on my tripod, fully extended the tripod, and held it up as high as I could to get some perspective in this shot.

What do you think?

Ethereal Landscapes

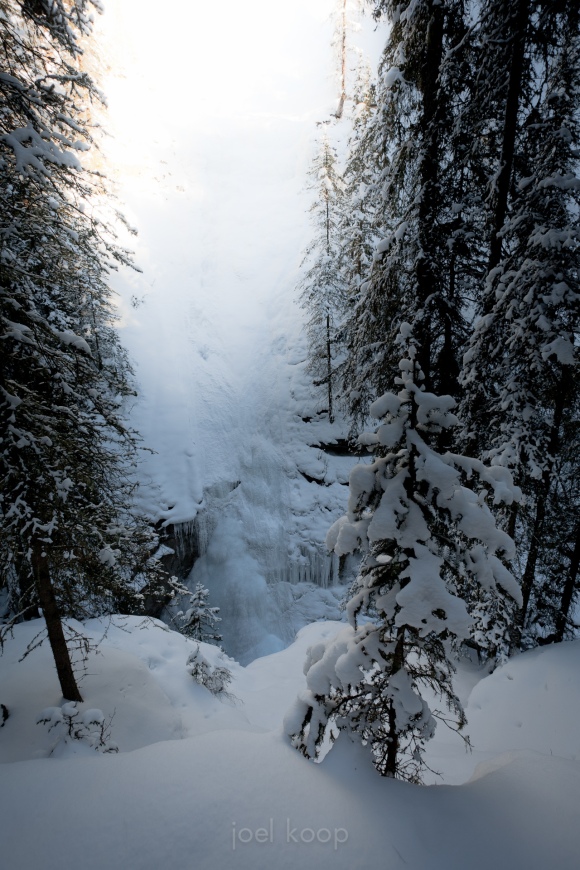
Often in landscapes I try to get all the details visible – lots of contrast, but with the blacks never going totally black and the whites never getting so bright they lose detail. Sometimes though, it pays to blow out the highlights. This is one of those things that’s irreversible in an image, and can look bad, so you have to be sure about it. But when it works it can add a mood to a photo that won’t be there otherwise. This is something I’ve seen done in lomo photography, wedding photography and some fashion photography for a long time, but I’ve never really tried it for landscapes. Curtis Round, another photographer who I’ve often had the pleasure of shooting with, has inspired me over the last few years. He often does this kind of thing in his wedding and engagement shoots, and it looks great.

Taken in Johnston Canyon, Banff.

Inspiration

There are photographs everywhere—online, in coffee shops, in museums, on billboards. That makes it easy to be aware of what photographers and artists are doing. Artists are often inspiration to each other, and I have definitely experienced this in my interactions with artists in all kinds of mediums. Sometimes the inspiration is conscious and sometimes subconscious, but it happens all the time. I want to acknowledge some of the photographers who have inspired me, and this could be a long list. So I’ll mention them as they come up. I already mentioned Darwin Wiggett a few days ago. This photo was inspired by Jonathan Martin-DeMoor, which I guess means we have a cycle of inspiration going. That is awesome, and often when you get new and interesting work happening—when two artists spur each other on.

Just so it’s clear, I’m not talking about copying. This also happens all the time, and I’m not a fan. This is one thing I was worried about going out to Abraham Lake after seeing photos of it. You actually have to work at avoiding taking the same picture as everyone else. Or maybe you have to take it to get past it, I’m not sure yet. But I am never happy to have the same composition I’ve seen before, even if the light or the weather is different. I’m a creative person, and I want to interact with the landscape myself, not just see it through someone else’s eyes.

Sometimes I want to go to the same places I’ve seen photographed when the area looks interesting, but I’m never interested in duplicating someone else’s work. That is how the landscape spoke to them, not me. I want my photography to share my personality.

Art of the Day

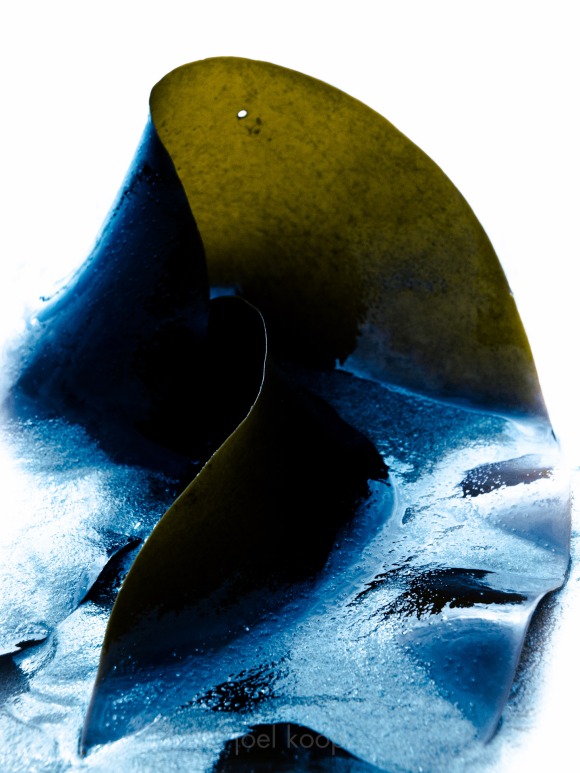
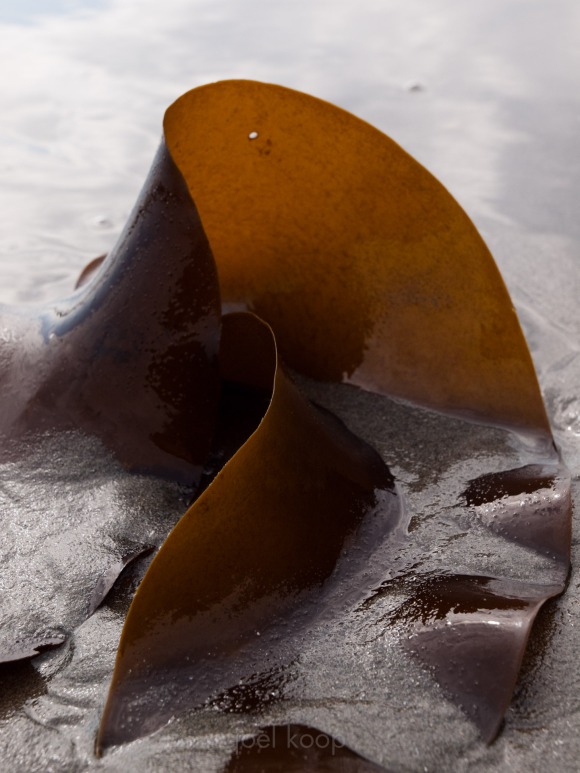
Some people feel really strongly about this, so here it is – this is photo art (as opposed to a photograph). I don’t normally do a lot of processing on my photos (except in previously mentioned dust nightmares). This one felt like it needed a little more to take it a little further from reality. Because really who wants to look at slimy seaweed? So I played with the colors a bit. Honestly this is still less processing than you see in any fashion shoot, magazine cover, etc.
My goal (and the goal of most artists) is to create beauty, not to use any one process, be it film, photoshop, or paint.

Taken on China Beach, Vancouver Island last summer.

And the original. Hopefully this doesn’t ruin the above for everyone.

Harebells and Forest Lanscapes

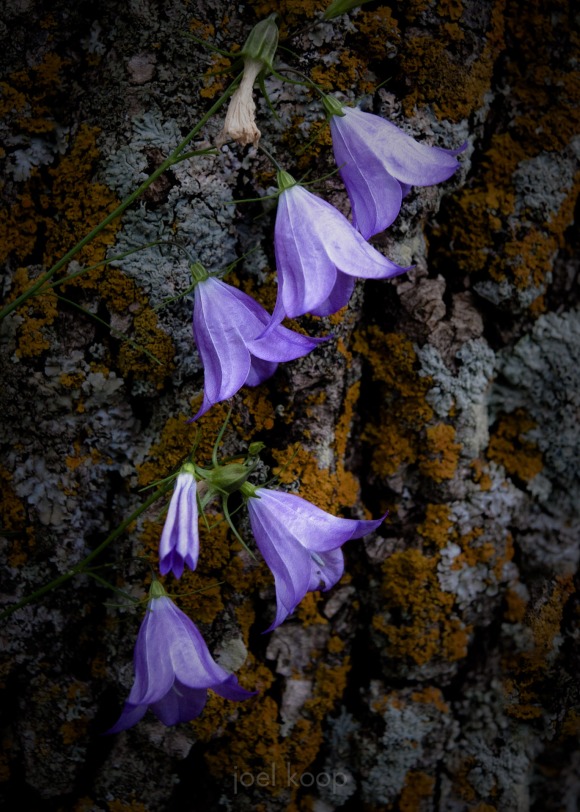
In the interests of geographical diversity, today’s photo is from Morden, MB. I went for a great hike with my family around Lake Minnewasta this past summer. For those who have not been here, the park is very nice for people who like the resorty villages, but the trail is absolutely beautiful. These are harebells (Campanula rotundifolia — as opposed to the hairy flowers like this which are bluebells) against a lichen covered tree trunk.

As I was getting this photo ready for the post today I kept having problems. I like the photo – the complimentary purple and orange, the contrasting textures, the brightness of the flowers. But something didn’t feel quite right. I kept on going back and trying to edit it differently. I think I finally figured out my problem with it, which can’t be fixed with processing – there’s no clear focal point. The eye has so many places to go, but there’s no clear line to follow, no one point to rest at. I was going to scrap the whole post and start again, but I thought you might be interested in my thoughts and processes on how I reject photos I’ve taken.

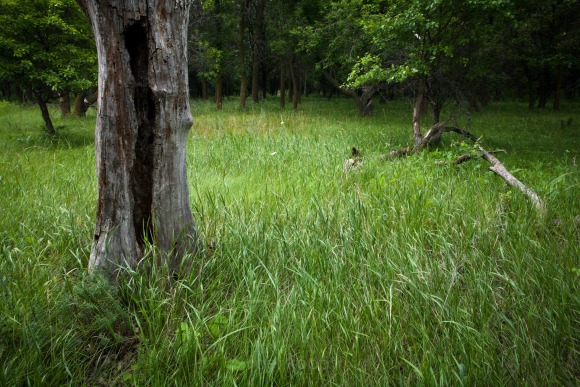
And now, in the interests of posting a photo I’m actually happy with, here’s one from the same hike.

My Camera History as a Function of Dust

As I mentioned the other day, I got an easy introduction to digital SLRs with my Olympus. For years I heard of the dust-spot problem, but I didn’t worry about it – I didn’t need to.

One fateful day, in search of improved image quality, I upgraded my camera. I got a beautiful, used Nikon D200 and was in love – for a while. I started seeing spots in my images, but they didn’t bother me too much. I could clone them out in Lightroom quite easily. As the months wore on more and more spots appeared. Okay. Time for the dreaded sensor cleaning. I made a few half-hearted attempts with sensor-cleaning kits, but they didn’t seem to do much. It got to the point where my photos were unusable. I was missing my Olympus. So I switched back.

With the new Olympus, all was well for a while. My dust problems were a faint memory. I was content. And then, I started talking with a stock agency. They liked my photos, but the image quality was a problem. Olympus didn’t make anything with better image quality. Time for an upgrade. But (for all you thinking of making a living off it), nature photography doesn’t pay very well. So I went in search of cheap image quality, and ended up with a used Canon 5D. Yup, an old camera with no dust shaker and more sensor to get dirty. But this time I was determined. When dust became an issue, I swabbed, I wiped, I brushed, and I did it all very well. I used any and every commercial solution available to me. And they all failed horribly. Dust was driving me mad. It was time for the crazy. I tried a vacuum (with some distance – static electricity is dangerous to sensors) and I tried some homemade swabs. No luck.

It turns out my solution was Scotch Tape. I have read numerous times how tape will ruin sensors – this may be true. I tested it out on other glass surfaces to make sure no residue remained (I’ve read that’s the main concern with tape). I tried it when all hope was lost and I was thinking of giving up on the Canon but short on funds for another camera switch.

Now I’m gloriously dust free, and enjoying my 5D more than ever (besides still being nervous in the rain).

(I do not recommend that you try this on your sensor. In fact anyone with half a legal mind will tell you not to come within 10 feet of your sensor because you might ruin it.)

My 5D after many attempts at sensor cleaning. No, those are not birds or bugs.


My 5D after scotch tape. Exactly the same develop settings in Lightroom. Similar aperture.