Burtonsville Island

I got a chance to get outside yesterday, and I headed out to Burtonsville Island Natural Area. I haven’t been there this year yet, and there were a lot of surprises. There are coal mines and oil wells everywhere, and they’ve made it harder to access the natural area. There is the constant drone of mining machinery and I didn’t see as much wildlife as I often do around there. Once I figured out how to access the area (they’ve changed the roads around) I got my next surprise. The water on the North Saskatchewan River was still pretty high and there was evidence that it was about 8 feet higher at one point (which would have come close to submerging the island). No one else had been there and the trails were all getting very overgrown or non-existant. I still managed to get across the beaver dam to the island (at least the beavers keep things in good repair), but it was soggy going. I got entirely soaked pushing through the rain-soaked undergrowth, but it was a beautiful evening and I got to test out my new camera, so I’m happy. It will take me a while to get a good feel for it, but first impressions are that the Canon 6D is a very nice camera indeed, and a great update to my old 5d.


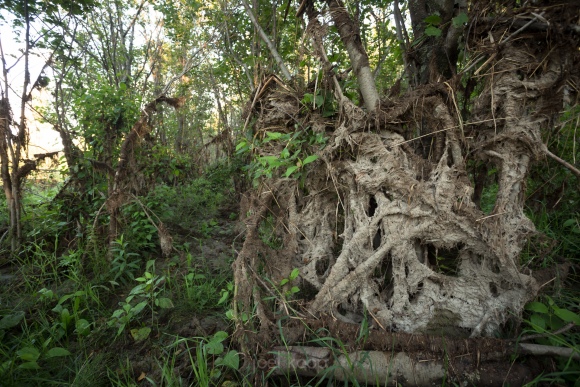
Sorry for the gross image, but this is the flood evidence on the island.

17mm, f8, 1/500 of a second

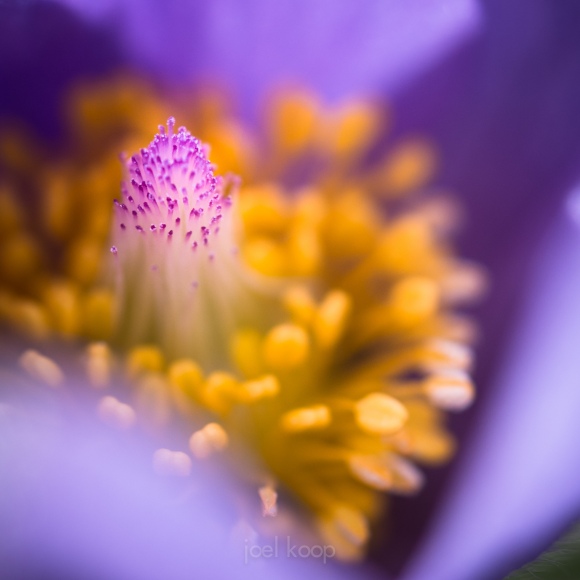
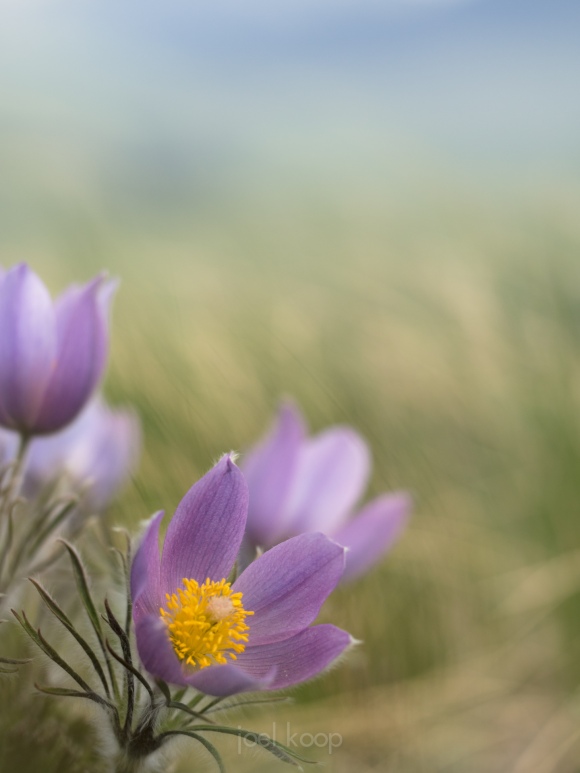
Alpine Crocuses

60mm, f2.8, 1/1250 of a second

The first day in Crowsnest Pass I climbed McGillivray Ridge, thinking it would be an easy re-introduction to hiking up mountains again since it’s been a while. Turns out the I need to climb a lot more mountains! It’s only 600m elevation gain, but I was pretty tired by the time I got to the top. Maybe the problem is that I always haul a lot of camera gear along, and I eschew hiking poles in favour of having a camera in my hand. Despite being a very warm sunny day at the bottom, by the time I got to the top I was wearing two jackets and a touque and I wished I had mittens along. I didn’t see anyone else the whole time though, so it’s a great hike for getting away from the crowds.

The crocuses near the top were spectacular. It’s been a long time since I’ve seen crocuses this purple. And they were everywhere. I got a chance to give my new Olympus 60mm Macro a good workout and I’m super impressed with that lens. Focusing is really fast for a macro lens, and it’s extremely sharp. My only complaint is that it doesn’t have a manual focus switch on the lens. But for being 1/5 of the weight of my Sigma macro and giving me similarly impressive results, I’m really happy.

60mm, f2.8, 1/1250 of a second

Shaped By a Glacier

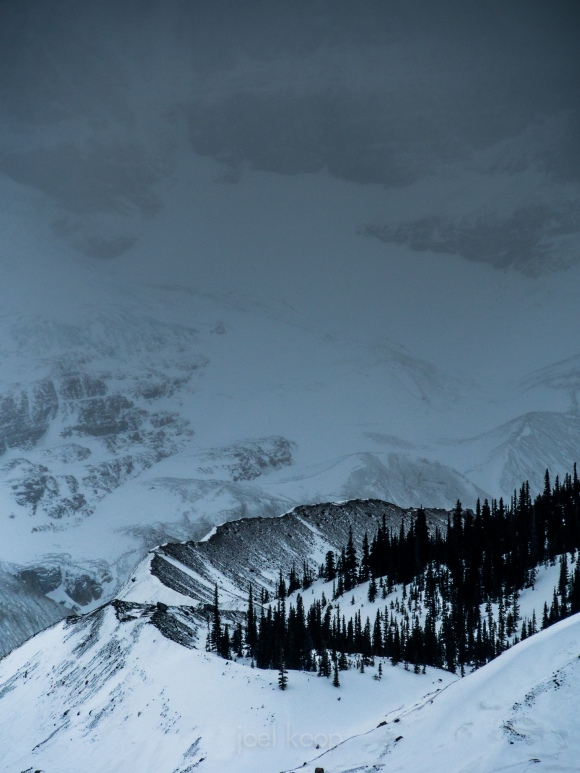
The ridge around those spruce trees is called a “lateral moraine” and was left behind by the Athabasca Glacier as it receded. I took this photo at the Columbia Ice Fields on a dark and cloudy day. I get the sense that this moraine is protecting the trees — like they’re sitting safe in their own fortress. And then I notice the mountain behind, which, by it’s comparative mass, renders the trees and moraine almost insignificant.

If you’re not interested in lenses, feel free to ignore the next bit. The photo is taken with the Panasonic 100-300 lens on my Olympus OM-D. When I got this lens, I was worried about it not being very sharp. I have looked up many reviews, but a lot of the photos in the reviews had shutter speeds under 1/1000 of a second with image stabilization turned on. It seems to me that this comments on the effectiveness of the IS, but says nothing about how sharp the lens is. Even using the lens on a tripod I find to be questionable because the center of balance is far infront of the tripod. So I ordered a lens collar with a tripod foot from Rudolf Rösch Feinmechanik. It didn’t get here in time for my trip to the mountains, so I don’t have a definitive review on the sharpness of the lens, but my initial impressions are that, while not being razor sharp, it is fairly good. The lens collar itself is beautiful — I’m thoroughly impressed. I will be using it a lot in the next while, and I’ll report back on its effectiveness.

1/4000 of a second, f7.1, 140mm

Random Updates


On Saturday in the afternoon (between 2 and 4pm for sure, and probably a little longer) I’ll be at Tix on the Square if you’d like to stop by. I’ll try to bring more cufflinks too (just have to package them up)!

The Daffodil now has my first extra large square pendants which have been requested by a lot of people! I just dropped them off yesterday.

Today I’m going to pick up my new Olympus OM-D! I’m super excited about this camera. It looks like it will have really good image quality, and because it’s light and weather-sealed it should allow me get to more places and take more interesting photos. I’ll report back once I get a feel for it, but I think it will be good. Now I just have to save up for a couple more lenses. Speaking of which, anyone interested in a Panasonic 14-140 or a Canon 50 f3.5 macro? I’ve used both of them very little, and they’re in great condition.

The photo above was taken at Beaverhill Lake with a Canon 5d and 300 f4, at f4 and 1/400 of a second.

Panasonic G1X Impressions

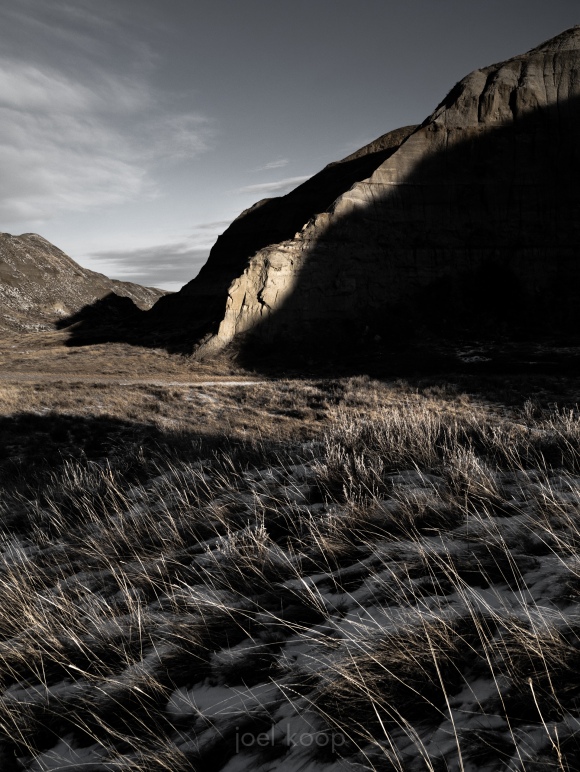
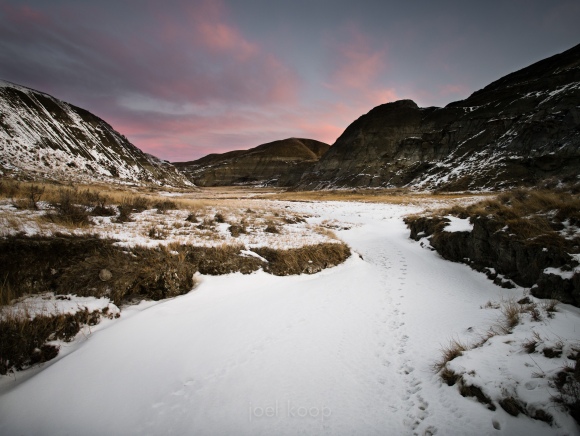
The Panasonic G1X is a great little camera. I got to use it for a short trip to Dinosaur Provincial Park a few weeks ago. I used it with the Olympus 12mm f2.0 prime, the old Panasonic 14-42mm kit lens, and Panasonic’s 100-300 telephoto lens. Carrying this kit was a welcome change from carrying around a Canon 5d with 4 fairly heavy lenses. I found the Panasonic very comfortable to use, and all the controls were well thought out. Not quite perfect, but no camera is. I was very curious to see if the image quality of this 4/3 sensor could get anywhere close to the 5d (a 7 year old full-frame digital slr).


Panasonic G1X with 14-42 lens
14mm, f9, 1/400 of a second

Remarkably, to me, it was close (it should be noted that I only shot raw photos, not JPGs). There is definitely a different characteristic look between a full-frame and a 4/3rds sensor, but that is not necessarily bad, just different. You get greater depth of field with the Panasonic, which I think accounts for much of this look. Dynamic range was surprisingly good from this little sensor — it didn’t seem to blow out highlights any quicker than my 5d. High iso pictures also looked better than I expected, and the grain, when it did show up, had a fairly pleasing quality to it.


12mm, f4.5, 1/40 of a second

Autofocus was a mixed bag. It is very fast, and I really enjoyed the touch screen to select autofocus points. The problem was that the autofocus areas are actually quite large, and you can’t tell what the camera is focusing on in that square. I did try the pinpoint autofocus mode, but it didn’t work that well for me. It could be that with further investigation and custom settings I could get this to work better.

Color was one of my biggest problems. Part of it is just getting used to the color response of a new camera — every camera is different, and this means that you have to process the colors differently. But the G1X didn’t seem to have the color depth I am used to from my 5d. It was actually quite similar to the Rebel XSi I had for a few months — I had trouble getting the color and color transitions to look the way I want. This meant desaturating some photos to get the colors to look good to my eye. I’m sure I could get more comfortable with this over time, but I’m also sure the colors are not quite as good as I’m used to. And I didn’t even get to try it with greens. Greens are my biggest problem color – trying to get greens to look natural to me can take many tries, even with the best cameras I’ve tried.


252mm, f6.3 1/500 of a second

My other complaint — and this really is the big one — is with the 100-300 lens. It is a sharp lens. It is a beautiful lens. The problem is stability with this long of a lens. WHY COULDN’T THEY PUT A COLLAR AND TRIPOD MOUNT ON IT???? This would fix everything. Putting a quick release plate on this camera works pretty well, but it is a small camera. The plate only has a small surface area that touches the camera, and this introduces some degree of instability. Add a relatively large lens like the 100-300 on the front and the tripod is now doing almost nothing. So this lens works fine for shooting at fast shutter speeds with bright light, but otherwise is useless. All because of the omission of a tripod mount.


275mm, f6.3, 1/4000 of a second

Small cameras have always been tempting to me. I don’t like carrying a lot of weight while I’m out hiking around, but image quality is most important to me, and at this point my old 5d is still a bit better. And new full-frame cameras (with even better quality sensors) are likely where I’ll be going once I can afford something new. But I do really like the trend towards small, light, fairly high-end cameras. I’m very curious to try out the Sony NEX-7, as this should be significantly better image quality and has an intriguing control layout.

So, is the G1X a good camera? Definitely. Is it a great camera? Possibly. Can it replace a full-frame camera for professional use? Not really, although I suppose that is obvious. Micro 4/3 is the most mature compact system at this point, with lots of good lens selection. But Sony’s NEX system has great cameras just waiting for lenses. And Fuji’s X-Pro1 looks fascinating. Things are changing fast.

The Path Ahead

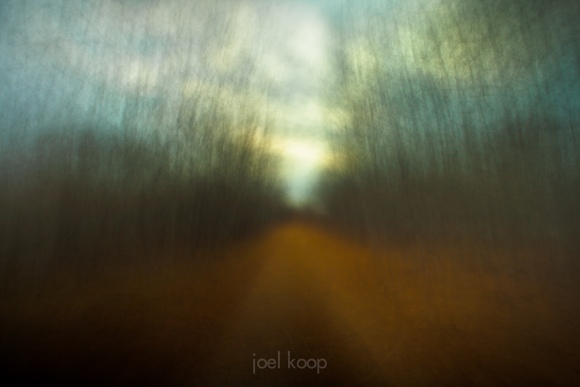
It’s all unclear, but beautiful.


Taken near Beaverhill Lake, AB.

Technical Note: I tried out a variable ND filter for the first time on this hike. ND (neutral density) filters block light, while otherwise (ideally) not affecting your image at all. This lets you have longer shutter speeds in bright light, which lets you blur subjects more easily. The above photo was a 4 second exposure.

The variable ND filter worked pretty well, but you have to be careful with ultra wide angle lenses. Like any polarizing filter, variable ND filters can create a dark stripe through your image if you use a wide angle lens, depending on the lighting.

Motion and Shutter Speed

Today’s post is something a little different for me. A friend is interested in practicing her photography skills, and specific assignments are much easier to be motivated about than some abstract notion of trying to get better at photography. So today we start with the shutter speed assignment. These assignments are very loosely based on some of the photography assignments we had in Design 390 at U of A. Since I’m predominantly a nature photographer, my examples will mostly be nature. These concepts apply to any type of photography, and if you apply them to the kind of photography you want to do, you’ll learn more than if you try to duplicate these.

The goal of this little photography lesson is that when you come across something moving in your photographic adventures, you are equipped to make creative and smart decisions about how to capture it. If you just read through this and think about it, you’ll be able to make the decision. If you do the assignment, you’ll be able to follow through and actually get the shot you’re hoping for.

Shutter speed is a pretty basic concept, but the situations in which it has an effect can be pretty complicated. The shutter speed is the length of time that light can hit the sensor (or film). The shutter (in most SLRs) is made up of two curtains (one connected to the top, one connected to the bottom) that control this length of time. The longer that light hits the sensor, the brighter the picture will be — this is how shutter speed affects exposure (there are two other things that affect exposure—aperture and ISO, but we’re just focusing on shutter speed for now). If the scene changes while the shutter is open, you will get a blurred image. This is where it starts to get interesting.

Sharp Photos

Usually, people want an image they’ve taken to be sharp. This requires one of two simple measures.

1. Make sure your shutter speed is fast enough by manipulating your ISO and Aperture.

“Fast enough”, if nothing is moving, is generally considered to be 1/the focal length of your lens if you’re holding the camera as still as possible. So with a 300mm lens you want at least 1/300 of a second, for a 24mm lens you want at least 1/24 of a second. Image stabilization can occasionally save your photo if you can’t get shutter speeds quite this fast, but it’s not smart to rely on it.

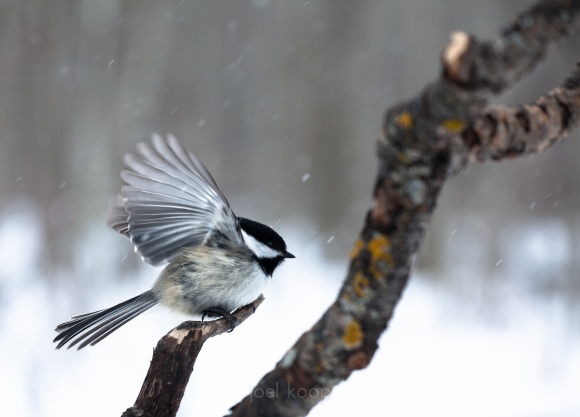
If you have fast moving subjects like cars or flying birds, you’ll probably need even faster shutter speeds to freeze the motion.

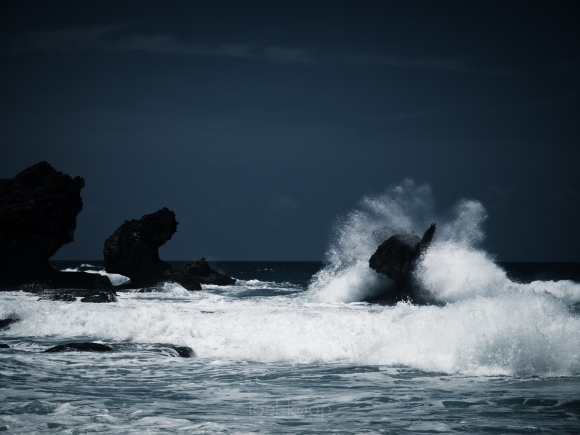
Shutter Speed: 1/1000 of a second
Shutter Speed: 1/800 of a second – this didn’t totally freeze the tip of the wing or the snow flakes, but pretty close.
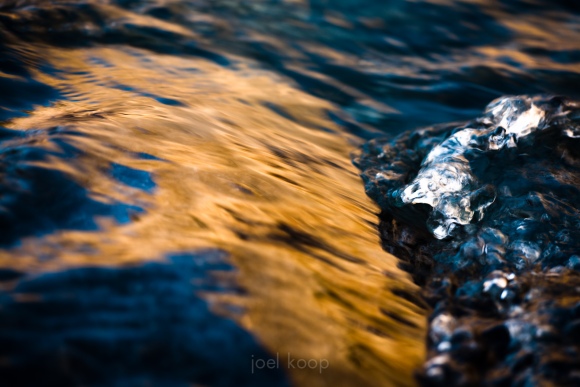
Shutter Speed: 1/100 of a second – in this case, fast enough to freeze the motion of the water.

2. Put your camera on a tripod, and make sure nothing in the scene is moving.

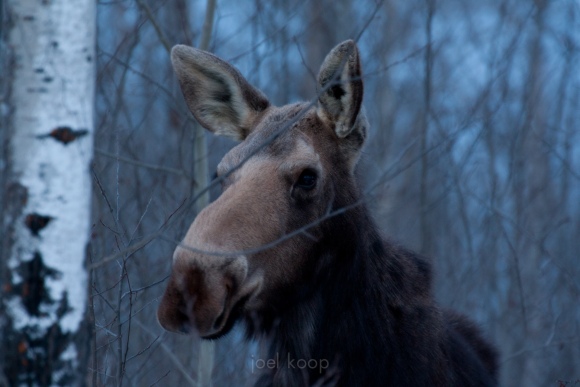
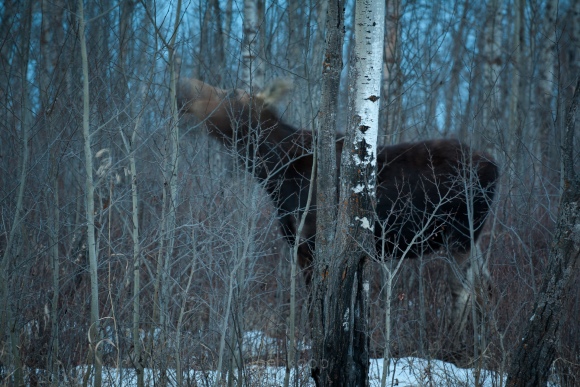
Shutter Speed: 1.3 seconds on a tripod – the moose stood perfectly still

Blurred Photos

Sometimes though, sharp pictures are boring. If you’ve got something moving, why not show it moving? This is where you start to get into the art of shutter speed. How much you want to blur things is completely up to you. And you have to experiment a lot to know how much something is going to blur.

There are two main ways to show motion.
1. Let the object that is moving blur and keep the scene sharp.

For this you probably need a tripod. If you’re keeping your shutter speed slow enough to blur motion, it is often too slow to hand hold the camera and get a sharp background. If the camera is locked down on a solid tripod, your shutter speed can get as long as you want, and the still things in the scene will be sharp

Shutter Speed: 1.6 seconds on a tripod.
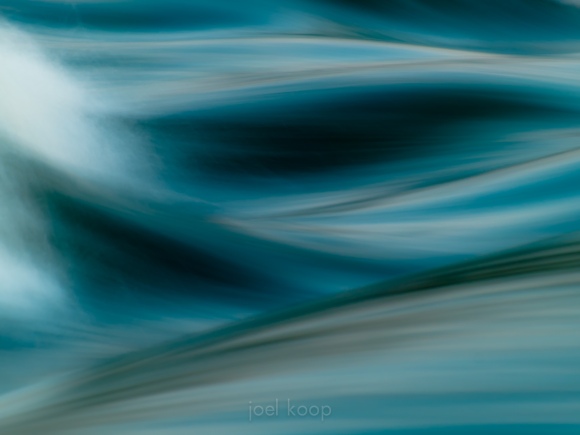
Shutter Speed: .7 seconds on a tripod – even though there are no still parts in this image, the pattern of the flowing water was constant enough that it gave me smooth lines. Without a tripod, these lines would not have been so defined.
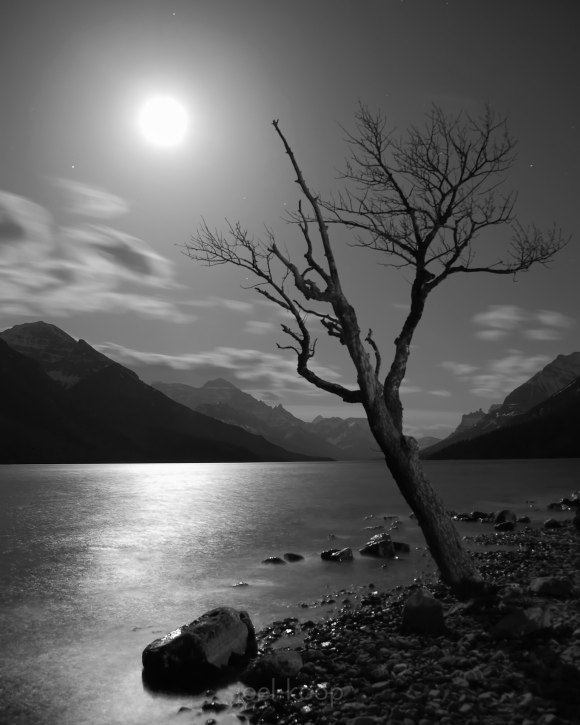
Shutter Speed: 20 seconds – the long exposure blurred the clouds
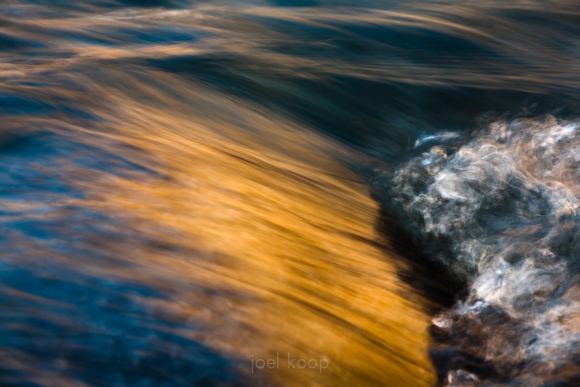
Shutter Speed: 1/4 of a second – the water blurred quite nicely at this shutter speed.
Shutter Speed: 3.2 seconds – during a pretty crazy wind storm
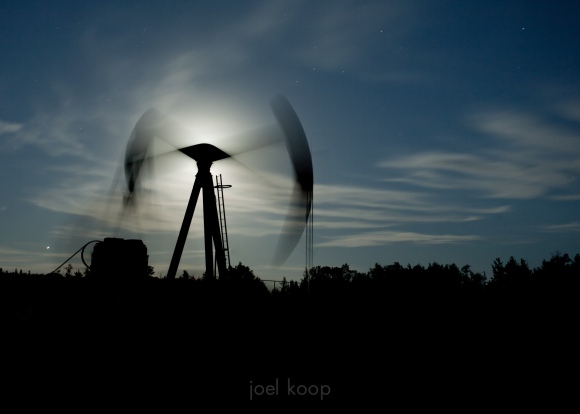
Shutter Speed: 30 seconds

2. Move your camera with the moving subject to try to get it sharp, and let the background blur. Depending on the circumstances, this can range from fairly easy to completely impossible.

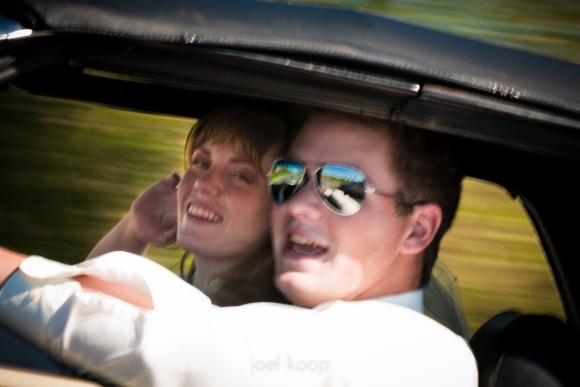
Shutter Speed: 1/125 of a second – This was at highway speeds, so this shutter speed was slow enough to blur. On the other hand, it was taken with a 150mm lens and the road was bumpy, so I wasn’t able to get the people perfectly sharp.
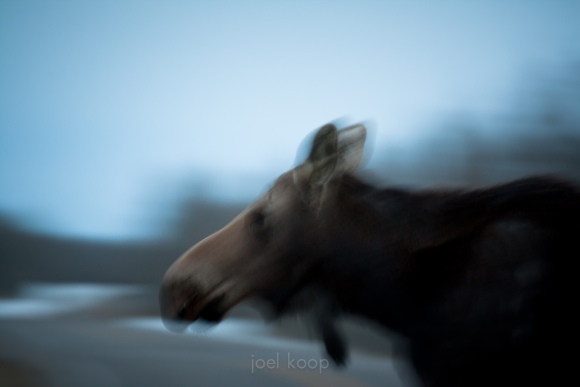
Shutter Speed: 1/6 of a second – I had my camera on a tripod to try to keep my camera still vertically while panning horizontally with the motion of the moose.

More Blurred Photos

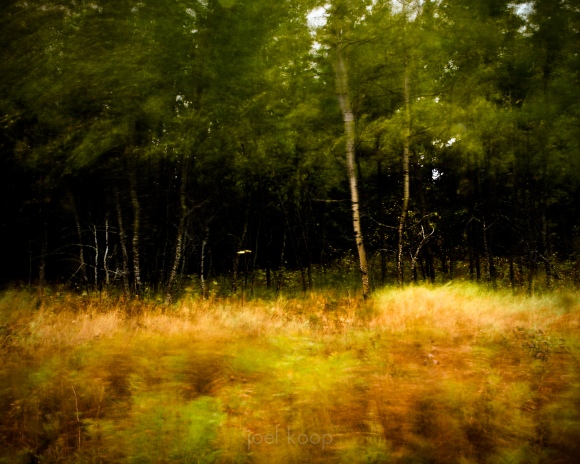
You can also create motion by moving the camera even when everything in the scene is unmoving.

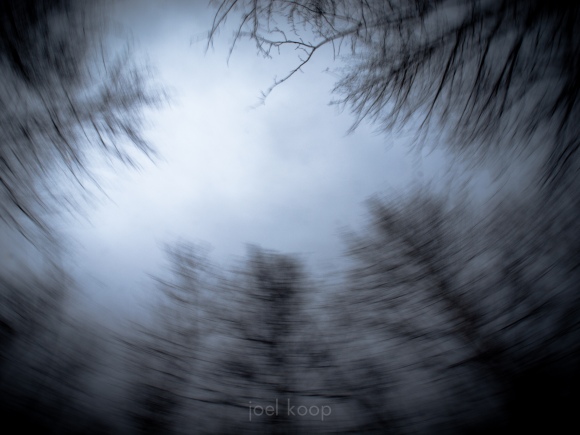
Shutter Speed: 1/25 of a second.
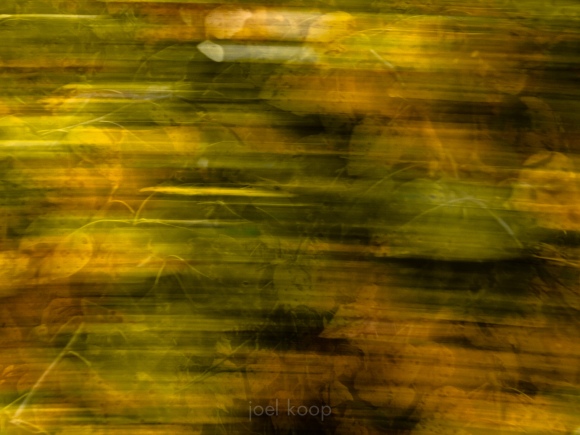
Shutter Speed: 1/2 a second.
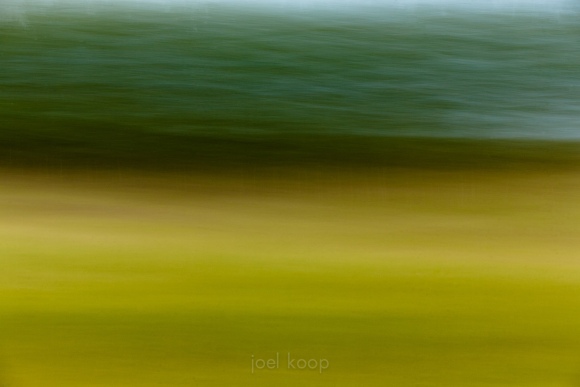
Shutter Speed: 2.5 seconds.

The Assignment

Find or create a moving subject — all photos should have the same subject. This could be absolutely anything. You can cause it to move, nature could cause it to move, other people could be moving it. Then start taking photos. I know this adds pressure, but try to make the photos interesting: well composed, well lit, with an engaging subject. It is possible that you’ll end up taking a lot more time thinking of moving things that would make awesome photos than actually taking the photos. This is the way it should be.

The deliverables are:
1. Sharp photo that shows motion. But it should be obvious that the object is moving. A ball in the air is obviously moving, where a ball on the floor could be moving or could be still.
2. A photo that blurs the subject.
3. A photo that blurs the background, and has the subject relatively sharp.

Something to think about:
What are the implications of each shot? Is the subject or the environment highlighted? Is one more important than the other? Does one photo seem more active than another? Are you caught up in the action, or are you a bystander?
Tripods on Ice

Tripods are extremely important for landscape photographers, and I have a couple good tripods that I’ve collected over the years – not my dream tripod yet, but close. I’ve heard of people at the camera store asking for spikes in the feet of their tripods, and always thought it might be a little perk but didn’t really matter. After all, in years of taking photos all over the place, I’ve never really missed having spikes on the feet of my tripods – rubber feet have always worked great.

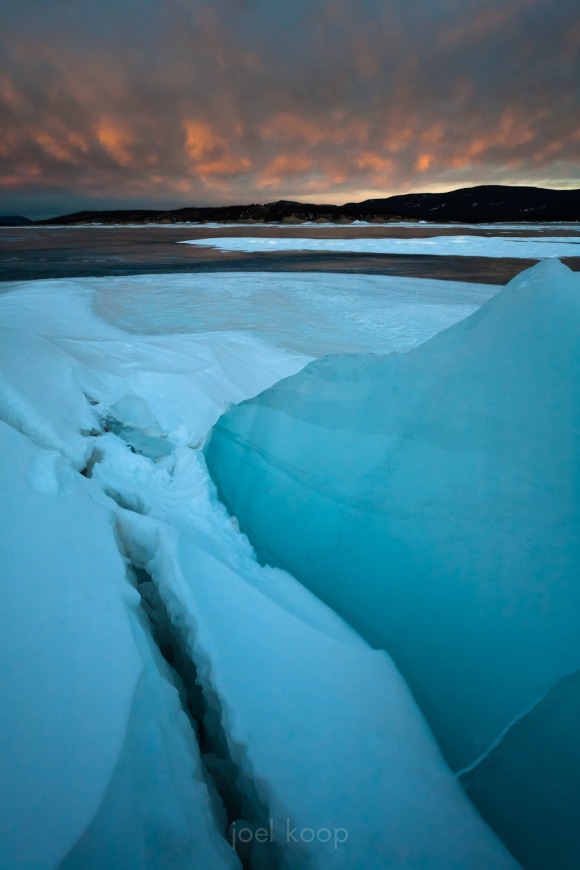
Well, this week it all changed. Out on the icy surface of Abraham Lake, with the wind blowing constantly and extremely hard, my tripod was useless. In fact, it made everything less steady – it provided more surface area for the wind to catch. The rubber feet had no grip at all on the ice. If I let go of my tripod on the ice, it would start to move away from me as the wind pushed it across the ice. Luckily it never fell over. The best I could do was to hang on to it, put a bunch of my weight on it, and hope no super large gusts came up during the exposure (the gusts were blowing me around a bit too, despite my crampons).

So I now understand the desire for spiked tripod feet, although I’m still not sure how much they would have helped in this case. I think my conclusion is just that it is extremely hard to take long exposures on ice in extremely windy conditions.

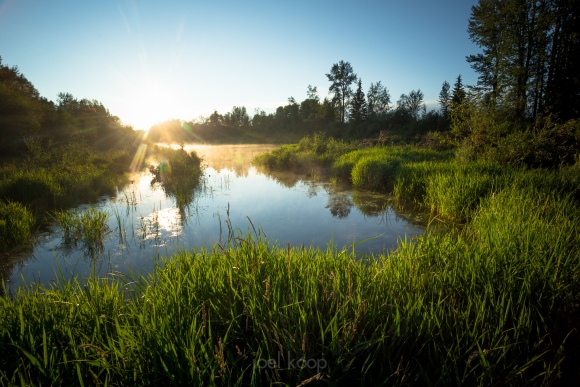
I’m not finished going through my photos from Abraham Lake yet, but here’s a preview. This is from Wednesday morning.

On Being Prepared and the Full Moon

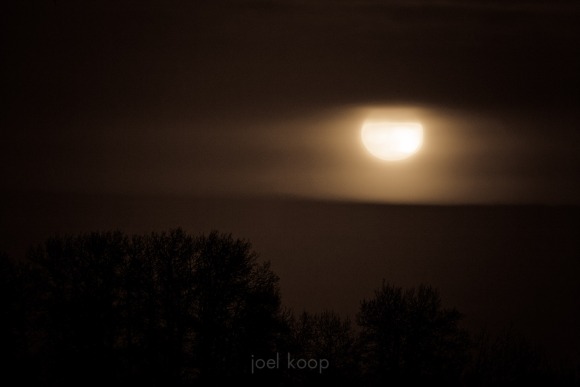
I feel a little guilty about today’s photo. First of all, it’s late, but secondly (and more importantly) it caught me by surprise. I should have known that there would be a full moon. I even have a little iphone app that tells me all the moonrise times and locations (as well as sunrise, sunset, and all about stars and constellations—it’s called “Planets”). But perseverance and awareness of my surroundings saved me this time, and just as it was getting too dark to see, a huge orange moon peeked over the horizon. If you’ve ever watched a moon rise, you know it happens very fast.

I got to a clear spot where I could see more moon than tree branches a few minutes after it rose. It was just starting to disappear behind a bank of clouds. I had to set my camera to mirror-lockup (so my camera doesn’t shake) plug in my remote (so I don’t bump the camera when I press the shutter button), and set up the tripod pretty quickly to get this shot. I like the way the clouds diffuse the light, making it a little different than the average clear-sky moon shot.

The full moon as it rose behind a bank of clouds last week.

GH1 Thoughts and a Photo

For this trip I tried out an interesting new (well, actually almost 2 years old) camera. Panasonic’s GH1 is actually a very capable camera. In good light the image quality is very close to my Canon 5D (mark I – more than 5 years old, but with a larger sensor). The battery lasts a very long time (I lost 1 tick on the battery meter on a 5 hour hike in -25 weather while taking 332 photos). I had problems with my 5d battery dying, although, to be fair I have an old third party battery for my Canon. The 100-300 lens for the GH1 is a very sharp lens with good image stabilization. For a small light telephoto setup, it is great.

The one area where is fails completely is at night. The previous night photo I took with my 5d turned out pretty well, while it was impossible to get anything with the panasonic. I might have been able to get something if I had a lens for it with a focus distance indicator, but with the 14-140 lens there is no way to focus a night shot. The screen was completely black, and of course autofocus would not work on any camera. The photos are also much more grainy than my 5d when long exposures are used.

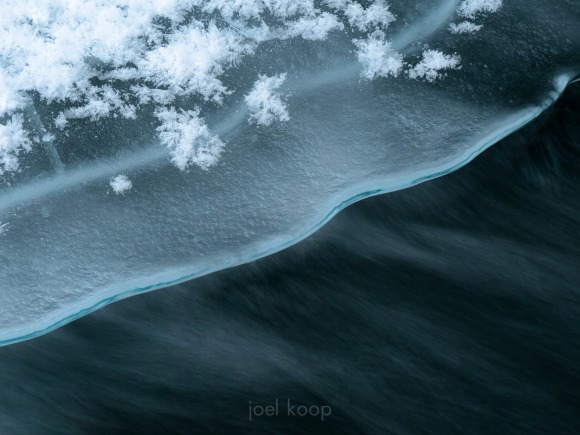
Here’s one area where the GH1 does better than anything else around – telephoto (at a reasonable cost and weight). Flowing water and ice in Johnston Canyon. Taken with a 600mm equivalent lens.