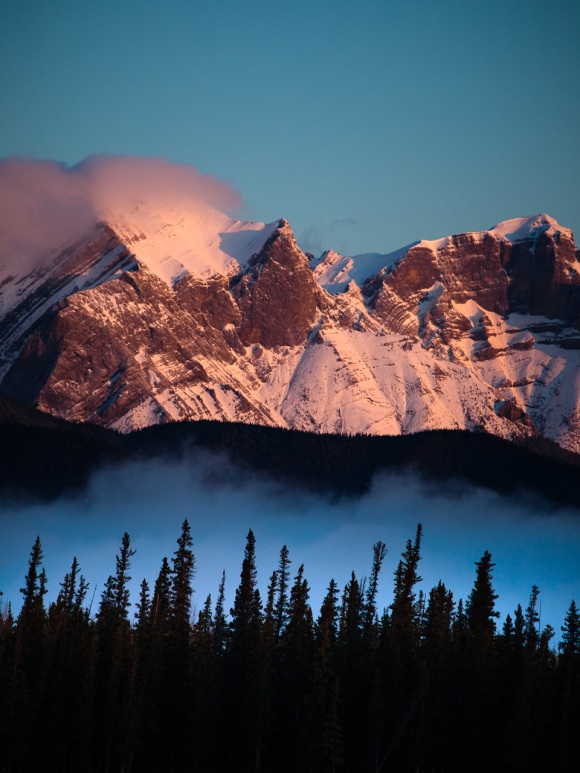
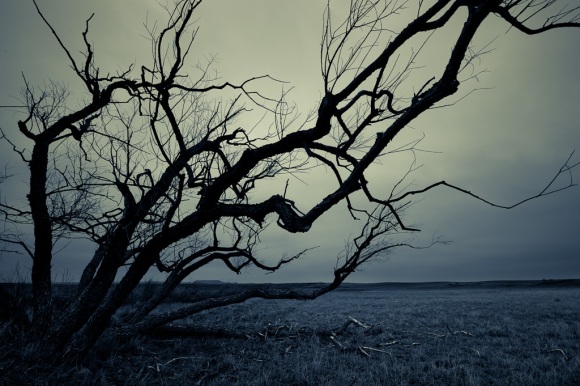
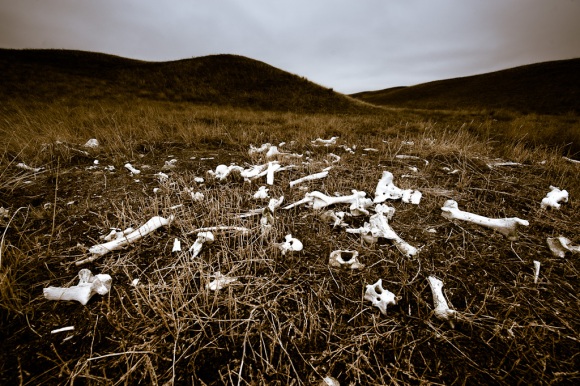
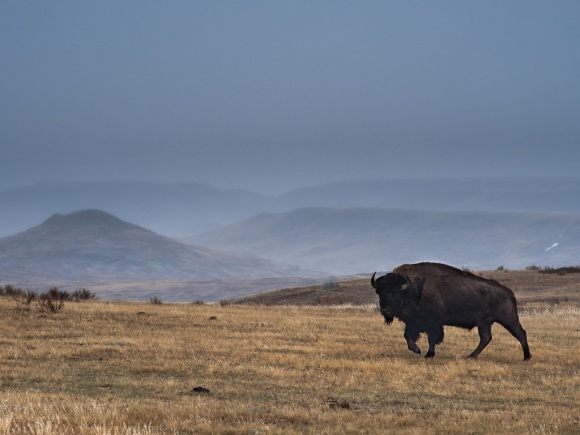
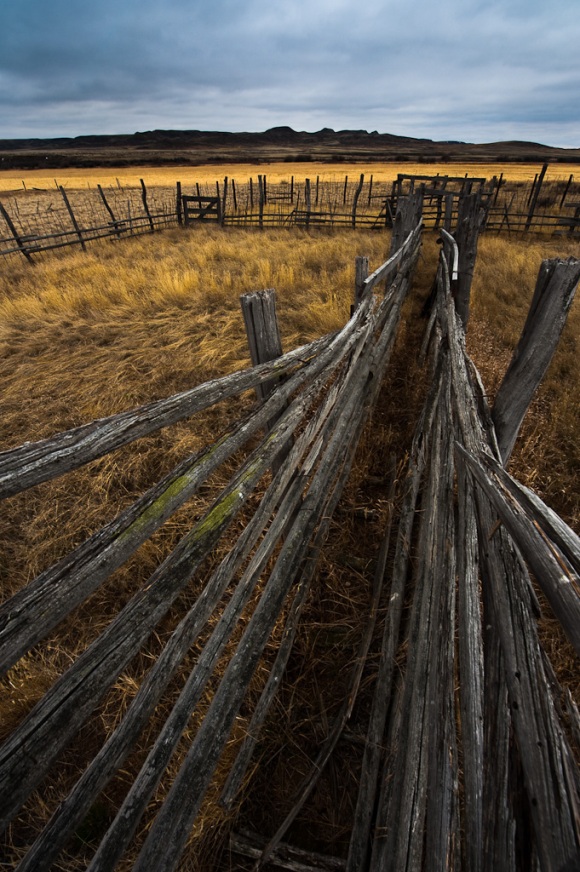
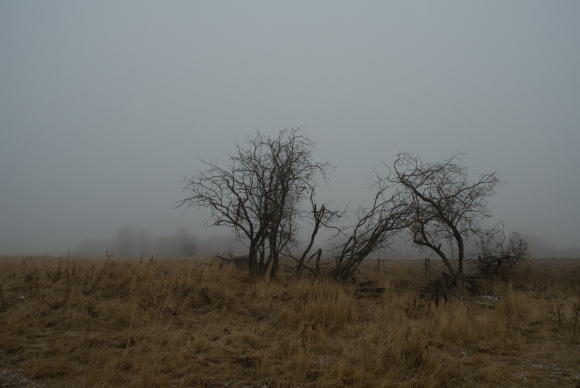
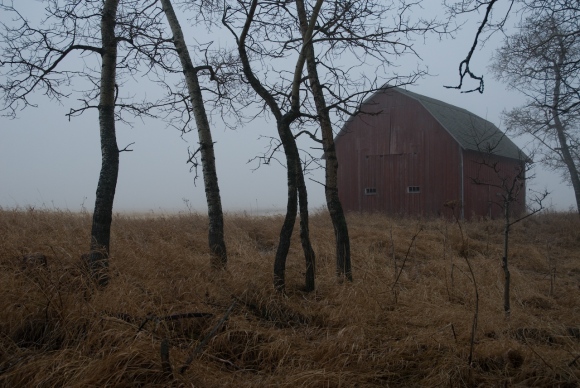
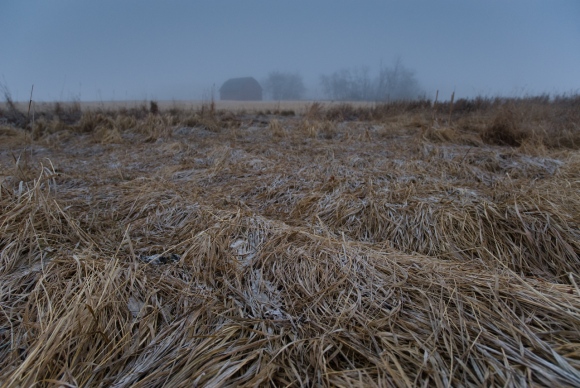
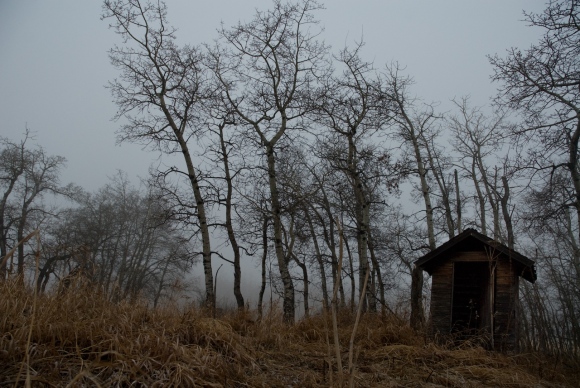
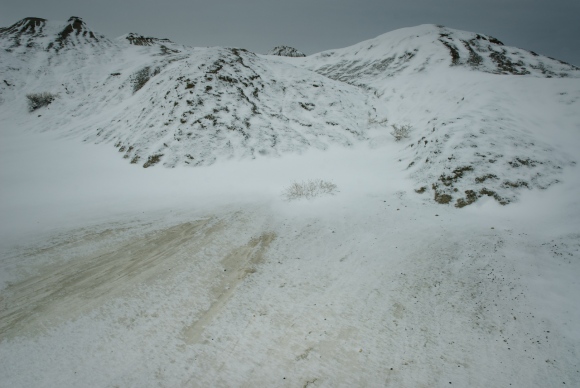
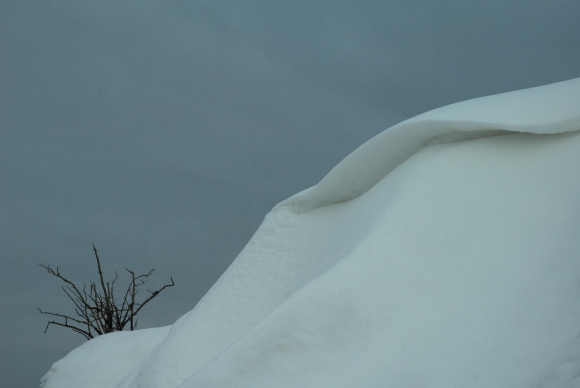
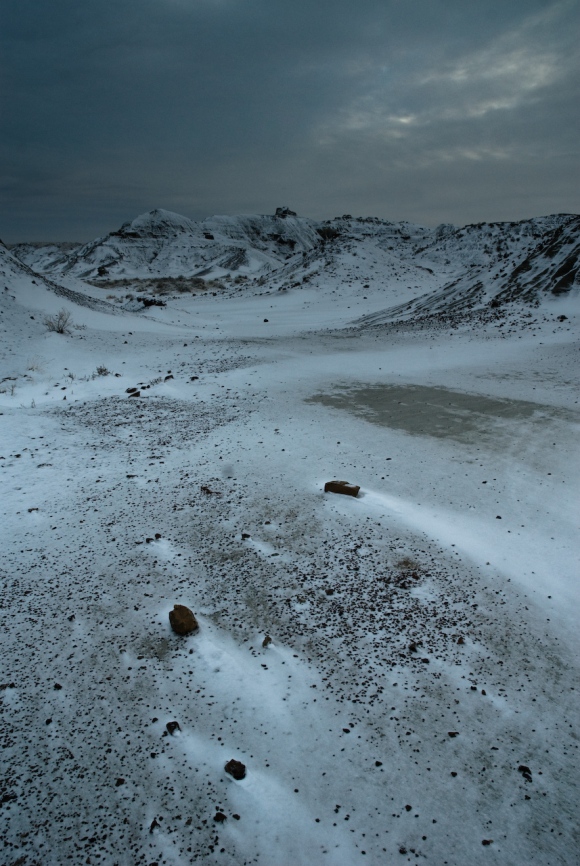
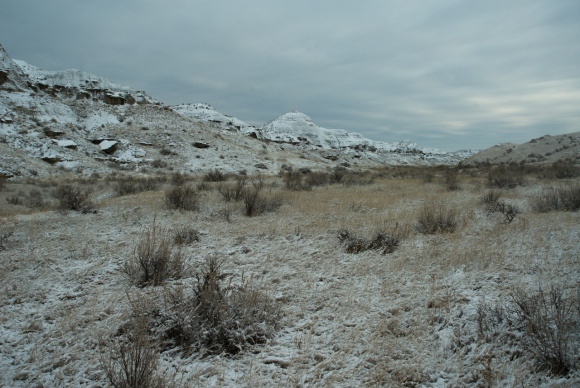
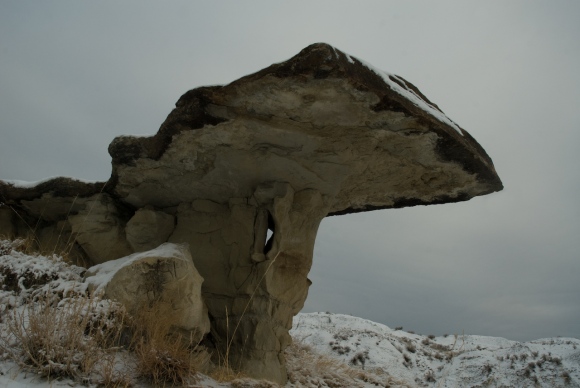
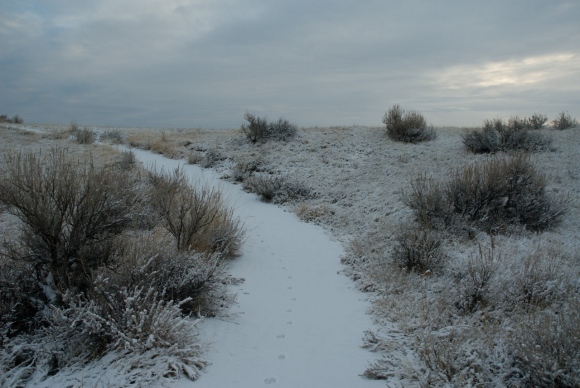
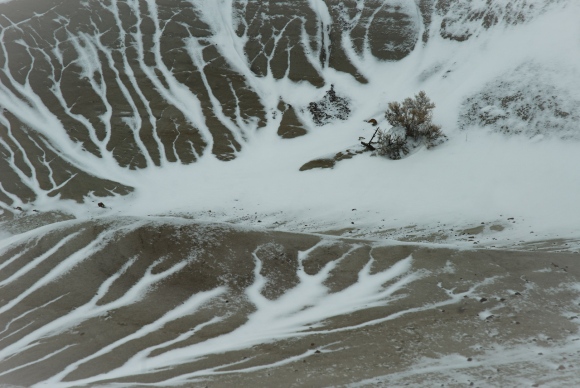
Mornings are generally not for me. I’d rather sleep in, drink coffee while wearing slippers, and generally ease into the day. But when I’m out camping, something magical happens in the morning. It’s a time when the world is refreshed. This was taken this last weekend near Hinton. It was cold and it was windy and it was 6 in the morning. But it was also an amazing start to the day.
Category: Travel
Disappearing
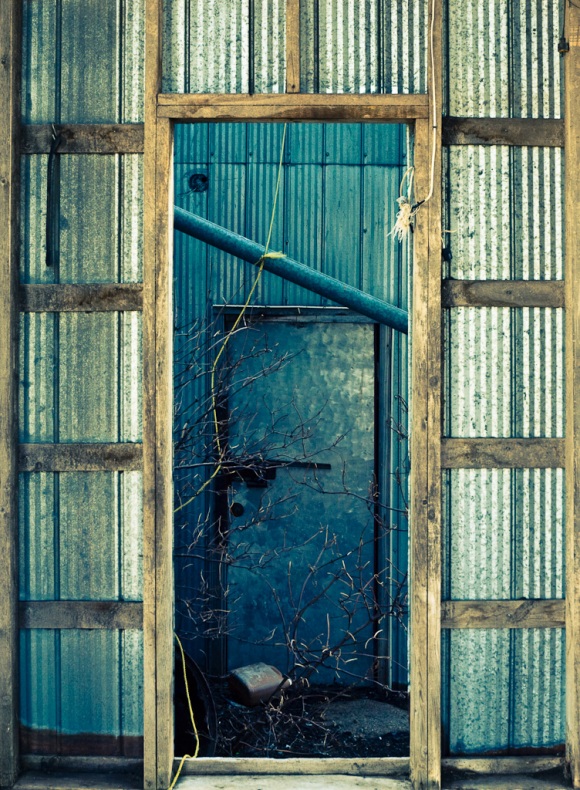
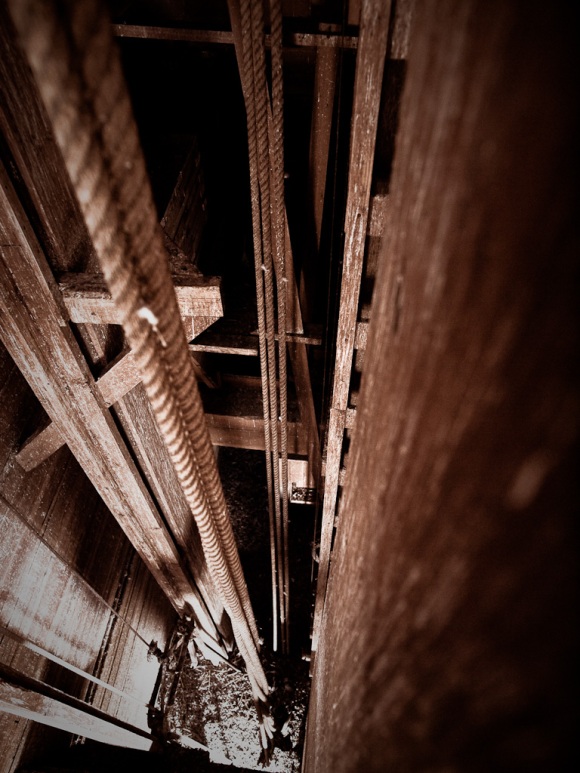
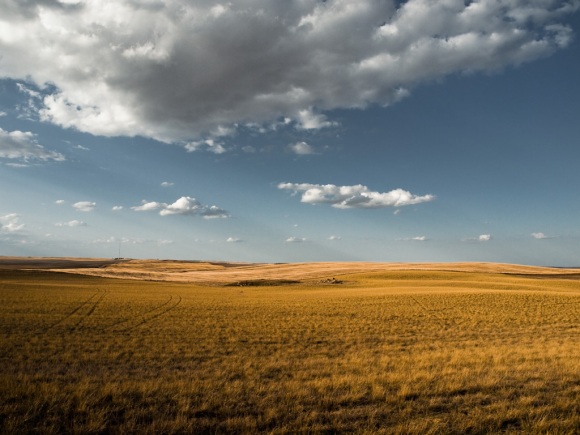
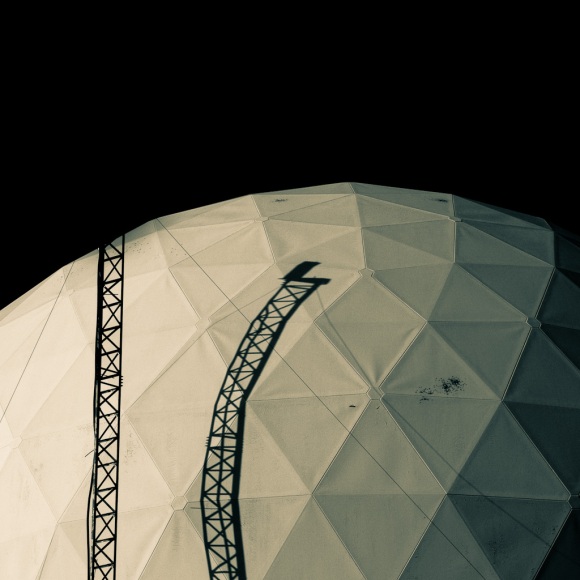
Today’s post is dedicated to the life on the prairies: pictures of an old seed cleaning plant, the interior of a wooden grain elevator, some gears from a threshing machine, an abandoned town, and an old radar dome which is a relic from the cold war.
A road trip with Jason is a departure from my normal weekend hike, and brings with it photos I wouldn’t otherwise have taken. It was a great trip through some of my favorite landscapes (eastern Alberta is much more hilly than one would think). But rather than exploring the landscape, we went to all the places between the landscapes – the ghost towns. I’d never been inside an elevator before, not to mention an abandoned radar station. Some people think I’m crazy for hiking alone, but exploring structurally questionable buildings seems much more dangerous to me. It was pretty fascinating though.
Seed cleaning plant:
Threshing machine gears:
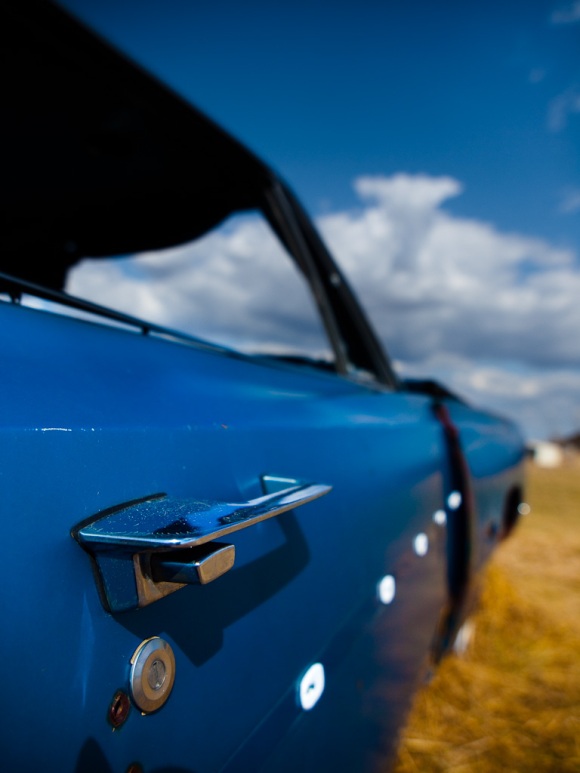
An old car on the prairies:
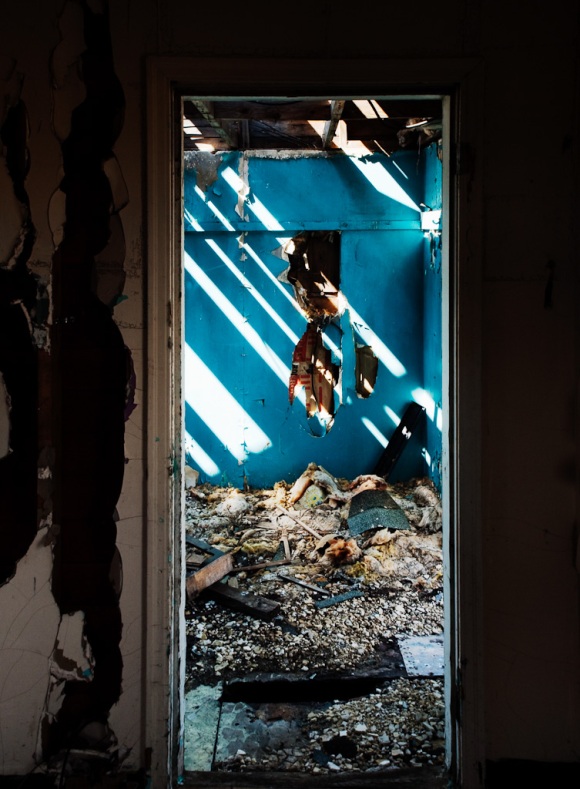
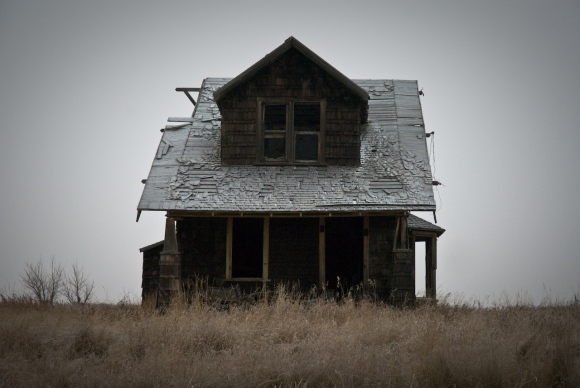
House: destroyed but still standing
Grain elevator interior:
Hah, I snuck in a landscape anyway.
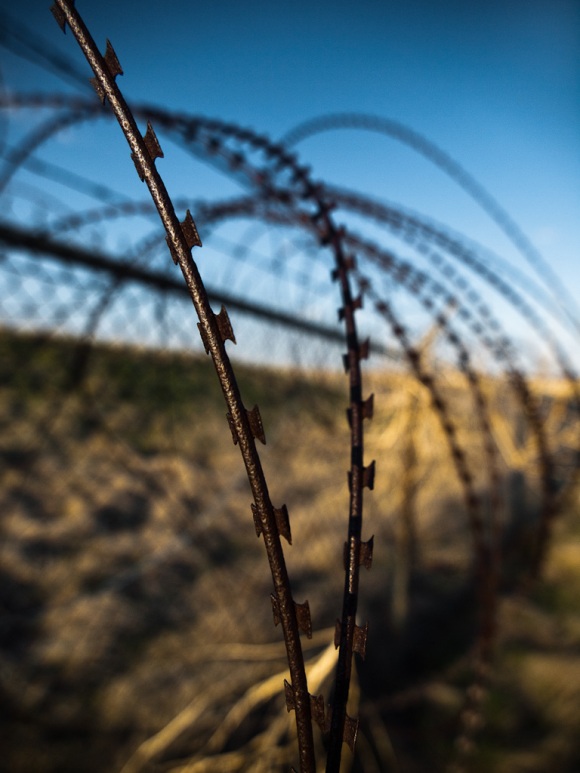
Rusty razor wire – how friendly
The radar dome at Alsask:
A Good and Disasterous Journey
Grasslands National Park is a little known park in southern Saskatchewan. It sounds dull, flat, and lifeless, and that couldn’t be further from the truth. In fact, in the last hour of driving before we got to the park, we must have seen 50 deer. Unfortunately the 51st decided to sprint directly at our car at a break neck speed – literally. We were a little shaken, our passenger side door was quite dented, and the deer was dead. There was really nothing to do but carry on to the hotel.
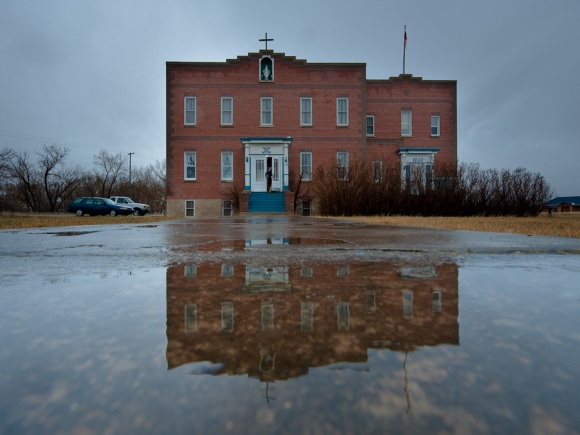
Well, not really a hotel – more of a hostel / bed and breakfast / very interesting place to stay. We stayed at the convent. It’s an old school that has been renovated into a “country inn” which has 9 (I believe) guest rooms, a library, a study, a chapel, and a dining room. None of the guest rooms has a bathroom, but they all have sinks and there are 3 bathrooms across 2 floors. The outside looks like an old two story schoolhouse, and the inside still has all the wood floors and cabinets. Our room was very bright and airy, and at night when we had the whole building to ourselves, got a little spooky. But we slept very well on comfortable beds, ate wonderful food prepared by our hosts, and thoroughly enjoyed our time there.
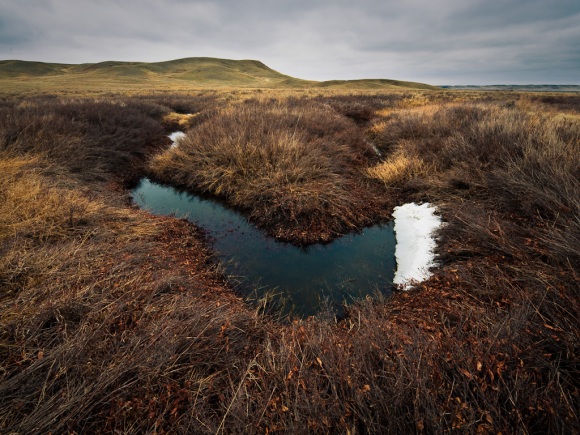
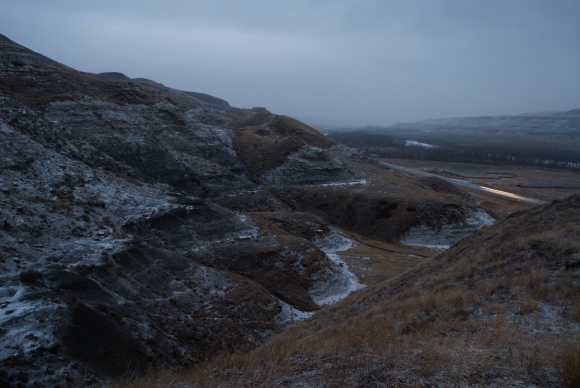
I am a nature photographer, and as a nature photographer, I often say that the worst weather is the best weather for shooting. I knew it was going to rain the weekend we were there, and I was pretty excited about that. The first day it didn’t rain. We didn’t see the sun. There was no sunrise and no sunset. The clouds were a uniform dull gray. This was slightly disappointing, but nevertheless, I ventured forth and spent my day photographing the park. In fact, I really enjoyed it. I never saw one person the whole day, but had plenty of company in the form of mule deer, whitetail deer, prairie dogs, bison, coyotes, and a plethora of birds. One of my friends generously lent me his Nikon D700 and some amazing lenses for our trip, so I enjoyed using some very capable gear to capture the amazing surroundings and the dull light.
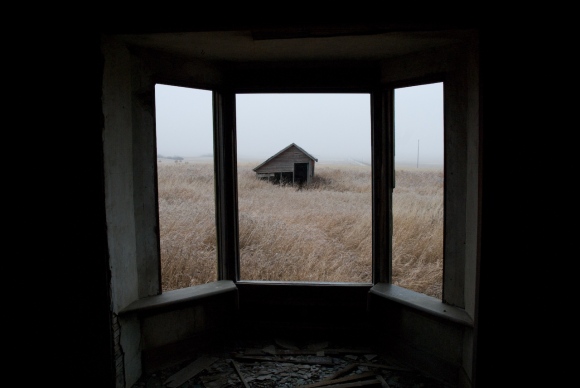
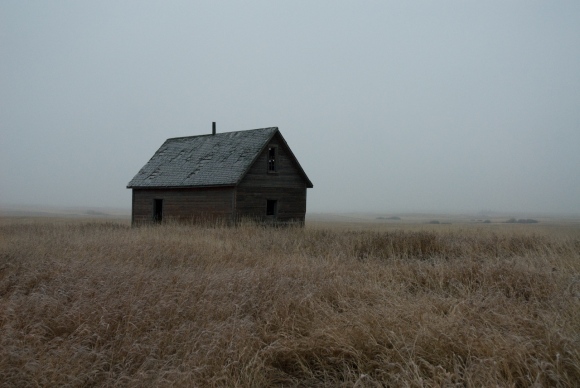
The next day it rained. Normally I like rain, but this slushy rain made the park inaccessible. The roads were too muddy, and we almost got stuck trying to get into the park. Luckily, southern Saskatchewan has other attractions for the foiled photographer. We went to a nearby ghost town, and took pictures of old abandoned buildings.
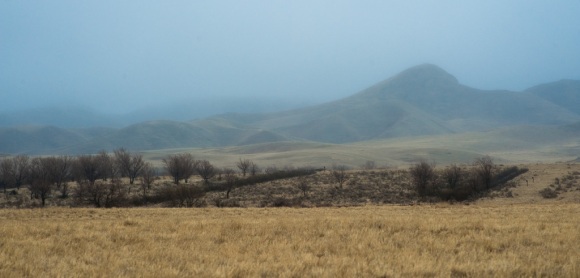
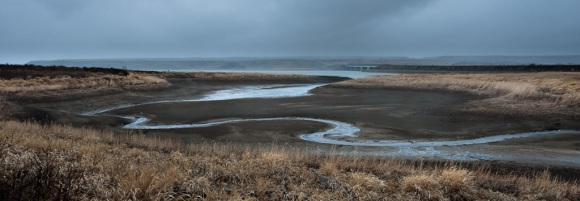
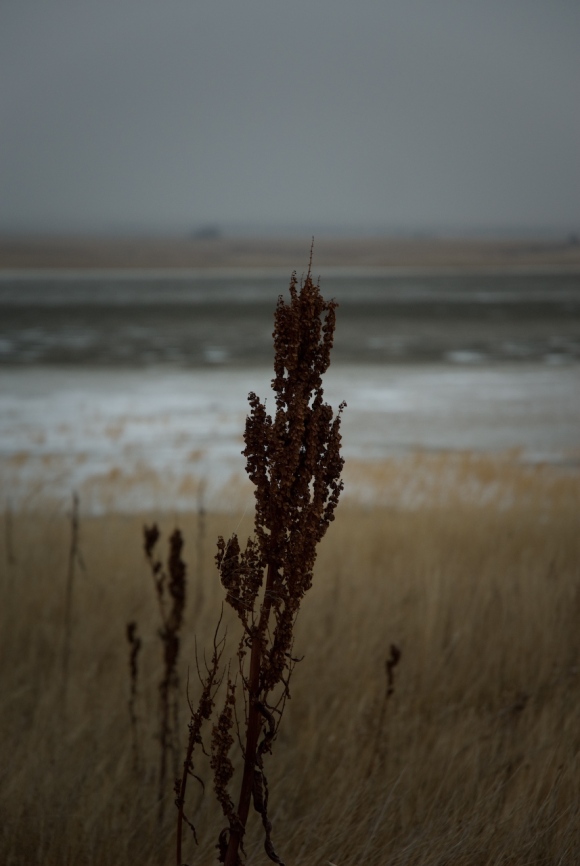
We got off to a bit of a late start for the drive home. We got chatting with our hosts, Robert and Mette, which made it hard to leave quickly, but the promised storm was blowing in and we wanted to be on our way before it got bad. The drive home began with a very nice photo ingredient – fog. There was a little rain, a little snow, but mostly it was foggy. This precipitated a surprisingly beautiful stop in Saskatchewan Landing Provincial Park, which I now really want to go back to. Unfortunately we couldn’t stay long, so after a bit of exploring we headed back to Edmonton. Little did we know we were heading into a blizzard.
I don’t have pictures of this part. I wanted to get them, but there was 10 inches of slushy wet snow everywhere except the tracks we were driving in, so I couldn’t pull off to the side of the road. I almost got stuck going in the gas station parking lot trying to get gas. It was a stressful drive to say the least. At last we got through the storm into sunny Alberta, and after a few more short stops we were having supper in Camrose. With an hour left to drive, we were reminiscing about the amazing success we’d been able to pull out of this disaster known as our working vacation. I had just said something to the effect of “If another deer jumps out in front of us…” while shaking my fist, when a moose walked into the road. Leisurely. I came to a rolling stop about four feet from her, before she realized that maybe moving would be an good idea. Well, at least it finally settled the debate we’d been having about stopping distance – it turns out you can stop in the distance illuminated by high beams.
Winter Roadtrip in the Prairies
Prairies are incredible. They’re more subtle than most landscapes, but they convey such a sense of freedom that they keep drawing me back. Last weekend I went on a roadtrip to south eastern Alberta. There were a number of places I was interested in seeing. Among them were Dinosaur Provincial Park, Red Rock Coulee, some sand dunes south of Wainwright, and a bunch of dried out salt lakes. Due to some unforseen vehicle trouble, I didn’t get to them all, but it was an amazing roadtrip none the less.
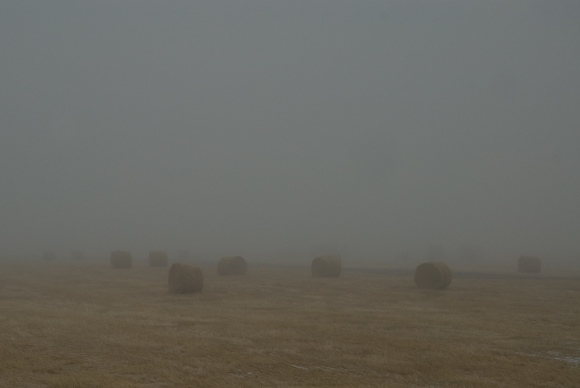
I took the scenic route on the way down from Edmonton. In this case that means almost random highways, secondary roads, and a fair number of gravel roads thrown in. The gravel roads are where you get to see the interesting stuff. You’re going slow enough that you can stop if you see something interesting and no one will mind if you’re stopped on the side of the road. In fact, probably no one will drive by. The day I drove down the weather was pretty bad. It was fog and freezing rain for much of the way, and gravel is less slippery than highways anyway in this case.
What people generally consider bad weather makes for great pictures though, so I stopped at an old farm to take some pictures.
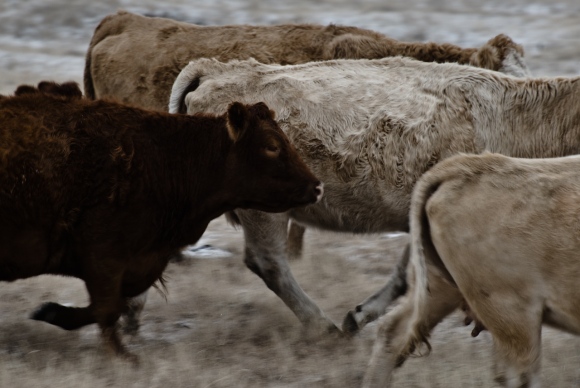
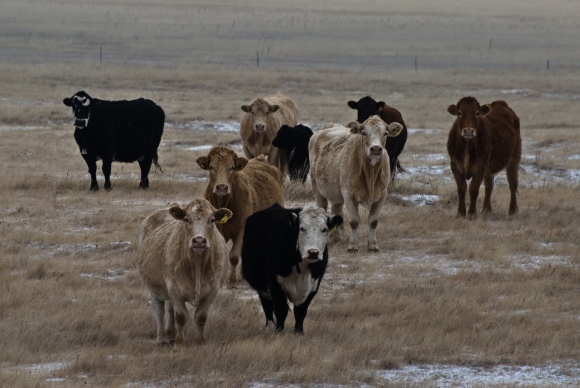
I was heading roughly in the direction of Drumheller and Dinosaur Provincial Park, and I had been looking around google maps for interesting places to stop on the way down. Sullivan Lake, east of Endiang, looked quite interesting, so, not really knowing the area, I drove as close as I could along one gravel road. The landscape was pretty interesting – it looked like the lakebed was pretty much dry, but I never got close enough to know for sure. There were lots of interesting hills surrounding the lake, and cattle were grazing in the area. I got out and hiked around for a bit. The cattle were interested in me, but seemed pretty scared of me. I mooed at them for a while, and they got quite curious. They slowly came closer and closer. When they started to encircle me, I got a little nervous, and headed back towards the car. Even if cows aren’t mean (and some of them are), stampeding cattle is just a bad thing all around, and something I definitely wanted to avoid being in the middle of.
Next I headed down towards Chain Lakes, which are a series of smaller alkali lakes.
Being December in Canada, it gets dark pretty early, and if I wanted to still see the Red Deer River valley I had to get going. I headed down towards Drumheller, stopped there for gas, and kept going down highway 10, which winds its way down the valley. This is a beautiful drive, and highly recommended. It continues as the 570, and eventually comes up out of the valley at Dorothy, a little hamlet that still has a standing wooden grain elevator. It looks pretty rickety though, and I don’t know how much longer it will be standing.
Dinosaur Provincial Park is actually quite a bit downstream from Drumheller. For some reason I thought they were pretty close, but this is not exactly the case. From the 570 I headed down the 36 to Brooks where I had supper and filled up. This was fairly late on a Sunday night, so everything in Duchess was closed. By this time I needed to start looking for a good place to sleep. Picking a place to sleep in a car is harder than it might sound. Theoretically you could park anywhere and sleep. However, there are a number of conditions that make it a little more complicated. First of all, you want to make sure you’re not blocking any driveway that someone is going to need to use at 5 in the morning. Second, you want a place to park that is not in a parking lot where people are either going to be driving or walking by. I don’t have tinted windows in my car, and I don’t want to either weird people out (I think sleeping in a car is generally considered to be weird) or be disturbed during the night. Despite precautions against these, its pretty much impossible to find a perfect place. Often I’ve had hunters or snowplows driving by early in the morning (in the case of snowplows they’re pretty loud and can give you a bit of a scare first thing in the morning). So around 8 I started looking for a good place. I also wanted it to be pretty close to the park, so I could photograph with the early morning light. Complicating things was a heavy snowfall warning and almost bald tires on my car. I found a driveway into a farmer’s field off of a gravel road that wasn’t to close to any farmhouse that did pretty well. I got a good 7 hours of sleep wrapped in a couple of sleeping bags. It went down to -13 C, so I woke up in the morning fairly cold. I started the car to get some heat going, and the car was rattling quite a bit. This was a little worrysome, as I was miles from any town and 6 hours from home. Interrupting my worries, the car lurched a bit. Strange, I was in neutral. Well, I tried putting the clutch in, and miraculously the rattling stopped. Uh oh, that means it’s my transmission. Well, I was about a 10 minute drive from the park, so that didn’t make much of a difference to whether I could get home or not. So I drove out to Dinosaur Provincial Park, and that went quite well. The car seemed to work fine. Maybe if I just avoided letting the clutch out while in neutral I’d be ok. I got to Dinosaur Provincial Park, and I was the only person there. It was first thing Monday morning, with fresh snow on the ground. Simply beautiful. I hiked around for quite a few hours, thoroughly enjoying myself.
OK, that’s probably enough pictures. Despite quite a bit of cloud cover, you can see it was amazing. There were cat tracks everywhere, and I’m curious what kind of cats frequent the park. They didn’t look big enough to be a cougar or anything – just slightly larger than housecat tracks. There were also rabbit, and many small rodent tracks. Fresh snow is cool. I never saw any animals though, despite all the tracks.
After getting back to the car, I decided to cut my roadtrip short. I had a couple energy bars for lunch, finished the can of cold chili I had for breakfast, and started the car. Good so far. I was really sorry to miss Red Rock Coulee, but really happy with what I did get to see. I drove north, along the icy highway 36, and all was well. Suddenly the engine revved, and the car started slowing down. That’s not good. I tried fourth gear. Ok, good. That was still catching. Back into fifth. It went in easily enough, but there’s nothing there. I had no fifth gear. Well, back into fourth gear.
I drove the whole way home in fourth gear at around 100km/hour. Yeah, that’s what the speed limit is, but everyone else was going so much faster and I held up quite a bit of traffic. I ended up taking a lot of gravel on the way home to avoid fast traffic, which ended up being good because the highways were icy and it was snowing too.
I got home, ate a bunch of warm food, had a warm shower, and fealt like going out on another road trip.
Making an Underwater Camera Bag
We were going on holiday to Barbados and going to be snorkeling for the first time. How could I not try to get pictures of that? Two problems: the price of a professional underwater camera bag, and the quality of underwater point-and-shoots. So we compromised and designed a flexible underwater casing for my Olympus E1. This design can be customized to fit almost any SLR.
Once you have the materials, this underwater bag takes a few hours to assemble. I used this bag in the ocean at depths up to about 10 feet, and it never let any water in.
The upsides:
- The camera stayed dry and safe.
- I got to take high-resolution underwater pictures.
- I didn’t have to pay the cost of another SLR to get the casing.
- The casing is relatively compact.
The downsides:
- It is hard to change the settings once the camera is in the bag, so I had to do some trial-and-error and guessing to set up the shot.
- Autofocus was a bit spotty, but that might depend on the camera.
- The design does not (yet) include a strap or ergonomic handle. It took a while to get used to holding it, and given its size restricts your movements somewhat.
In general, you want as bright of a day as possible, and you’ll probably still need to raise your ISO to at least 200 or maybe 400 to get blur-free shots. Autofocus worked alright, but it is very hard to look through the viewfinder. If you have a camera with autofocus in liveview, this should work much better. I usually ended up pointing the camera in the general direction of interesting stuff, taking a bunch of pictures, and going through them after to find the good ones. If you find your autofocus a little unreliable, it may work best to use a wide angle lens, keep your aperture fairly high (f8 or so), and keep your camera focused at infinity. Unless the fish are very close, that should work well.
Materials needed:
- One shower drain
- One large Aloksak plastic bag
- 2 feet of aluminum rod
- 2 small rubber washers
- a small piece of anti-reflective glass or (preferably) plexi-glass
- silicone caulking
- closed cell foam or gasket material (to make sure your lens fits tightly into the drain)
- Smaller aluminum, bamboo, plastic stick
Tools needed:
- Hacksaw (for cutting through PVC)
- File (for smoothing plastic edges and making ridges in the aluminum rods)
- Pen (for outlining the lens port)
- Coping saw (for cutting out the circular lens port from the plexi-glass)
- Utility knife (for cutting foam spacers and the hole in the plastic bag)
I picked up all of this from my local Home Depot, except the Aloksak bag which you can get from an outdoor store (MEC for me).
First, make sure your Aloksak bag is big enough to fit your camera and lens. If it’s not, get a bigger one.
Next, make sure your shower drain has a large enough drain hole to fit over the front end of your lens. (I had to file the threads out of the center of the drain I bought to fit over my Olympus 14-54 lens) It’s ok if it is a little bit bigger, but it can’t be smaller. Everything fits? Excellent – we can now build the bag.
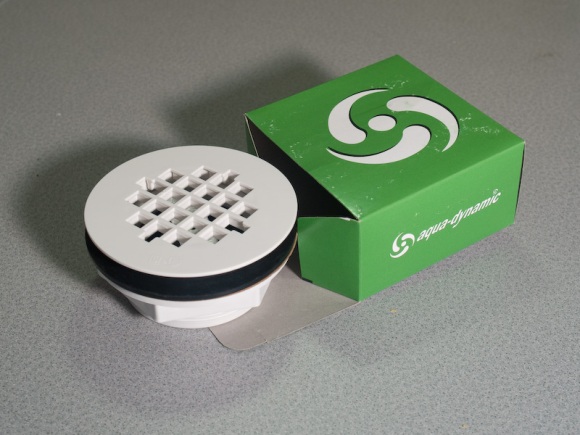
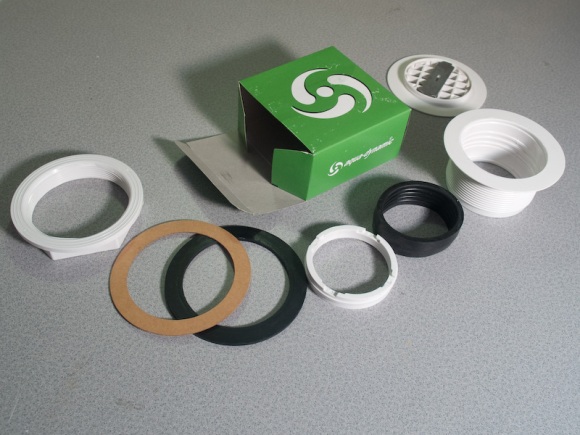
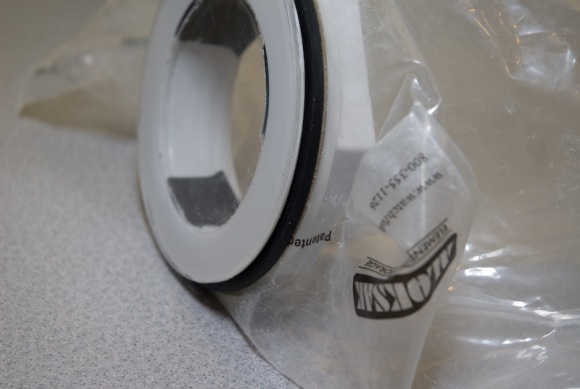
This is the drain as it comes from the store.
Here is the drain completely disassembled. The parts we are going to use are the two large plastic pieces that thread together, the black rubber washer and the cardboard washer. Save the rest for a rainy day or throw it out.
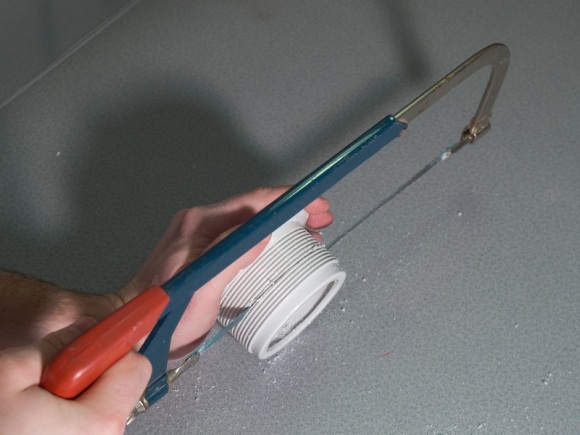
This particular drain had a small lip on the bottom that the lens couldn’t fit through, so I cut that off. Do whatever cutting or filing you need to so that the lens fits. Make sure to leave some of the threading.
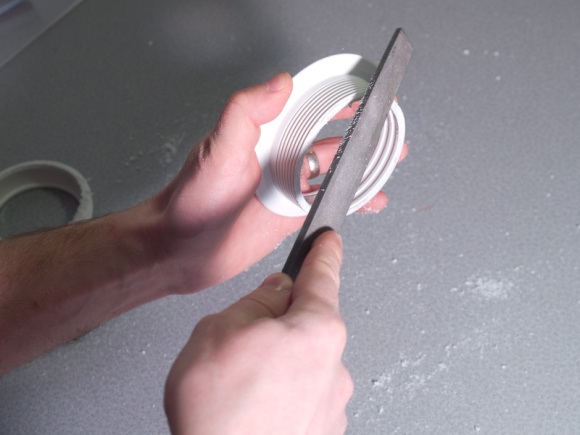
Sawing the plastic left some burrs, so I smoothed them out. File down any sharp edges. Assemble the pieces to make sure everything continues to fit together smoothly and securely.
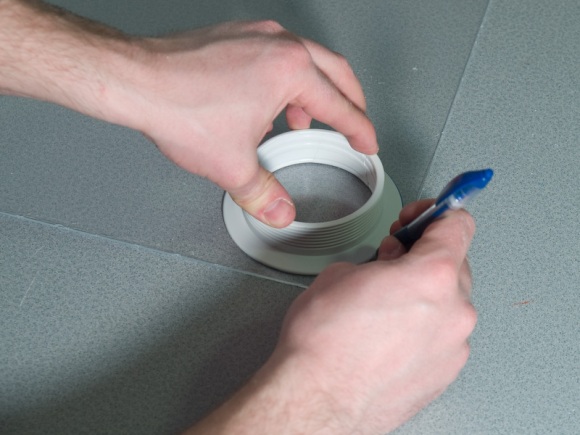
The lens port needs to cover the entire front of the drain, including the flange. Trace out the drain cover on the protective plastic film of the plexi-glass.
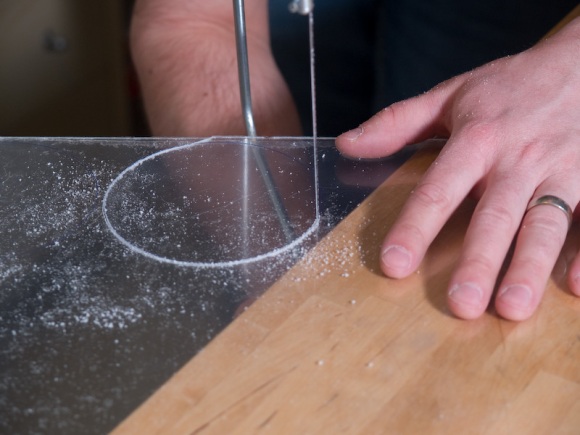
This was the trickiest point. At one point I put too much pressure on the saw and cracked the plexi-glass. Of course, I had a huge sheet so lots of room for error. Make sure you don’t put too much pressure on the saw while you’re cutting and cut out the circle (with the protective film still in place).
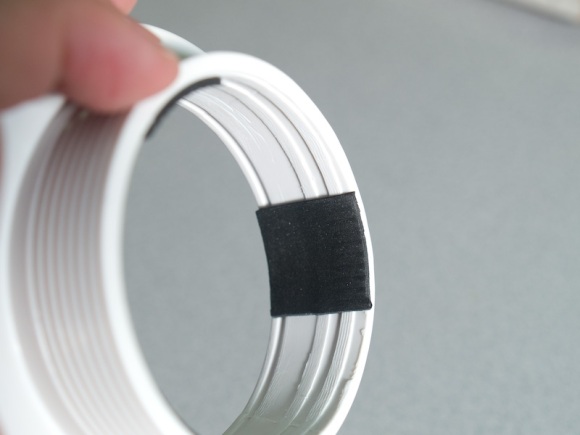
Back to the drain. I wanted to make sure the cover fit securely on the lens to keep the plastic parrallel to the front element, and the keep the camera from floating around inside the bag. Use closed cell foam or gasket material (depending on the thickness you need) to friction fit the lens inside the drain. You don’t want to put too much pressure on the lens, but you do need the shower drain to be secure. Experiment until you are happy with the fit.
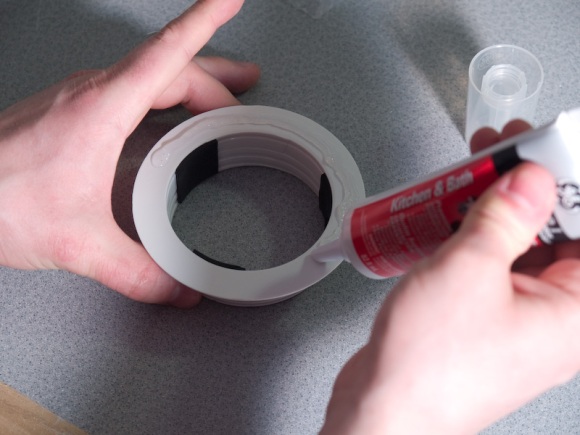
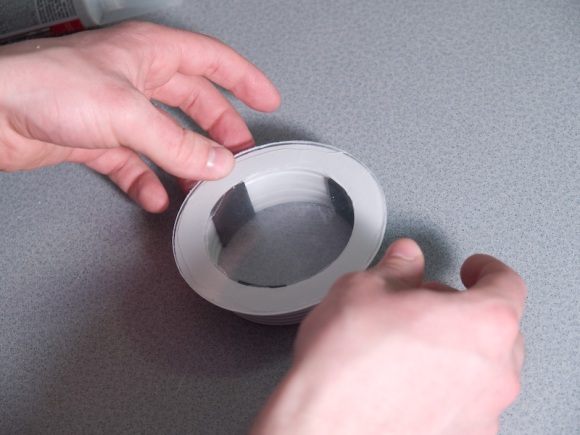
Now you need to secure the plexiglass to the drain with a watertight seal. Silcone the flange of the drain, making sure to get a continuous bead all the way around. Push the plexi-glass against the drain, lining up the edges. You should not have any gaps or air bubbles. You also don’t want so much silicone that it squeezes out everywhere, especially inside the drain as that can impact the optical quality. Outside can be cleaned up with the utility knife. The flange is probably big enough that you can get a good seal without excess silicone.
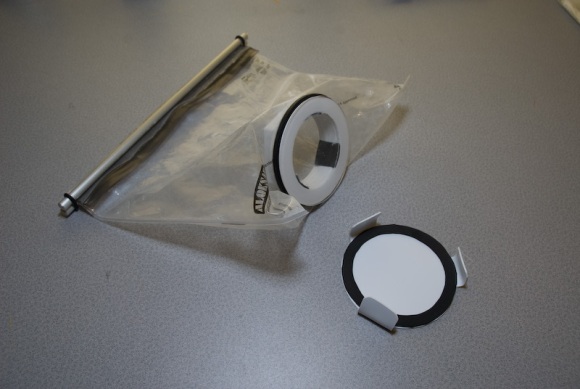
The lens port fully assembled. Wait for the silicone to dry before putting any stress on it.
Cut a hole in one side of the Aloksak bag, just large enough for the small end of the drain to fit through. I put the hole in centre of the bottom. That made the seal on the bag block the viewfinder. Learn from my mistakes.
Put the drain (plexi-glass side down) on the table. Put the rubber gasket on, then slip the Aloksak bag over the drain threads so that the threads protrude into the bag (see picture). Reach inside the bag, put on the cardboard washer (or whatever second gasket you might have) and thread on the final part of the drain (this part the didn’t require any modifications). Make sure this is tight! The bag will be pinched between the two washers, and the whole thing secured by the threads of the drain.
Put your camera in the bag and seal the zipper, taking out most of the air. More air means it will be harder to keep the camera underwater. A little bit of air might slow its descent if you drop it (this did not get tested).
You now have a waterproof camera bag. While I was very confident in the water-tightness of the lens port and bag, the zipper on the bag is not particularly strong (Aloksak bags are Navy rated and supposed to be waterproof, but this is my camera we’re talking about.)
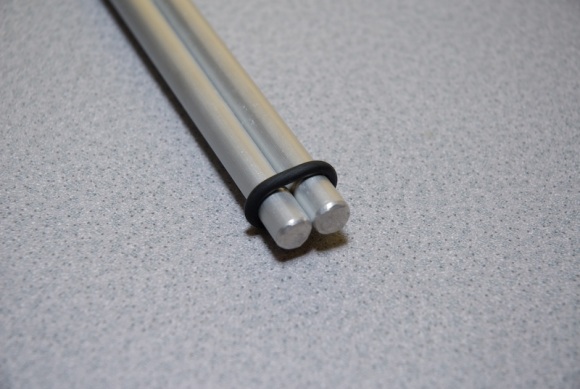
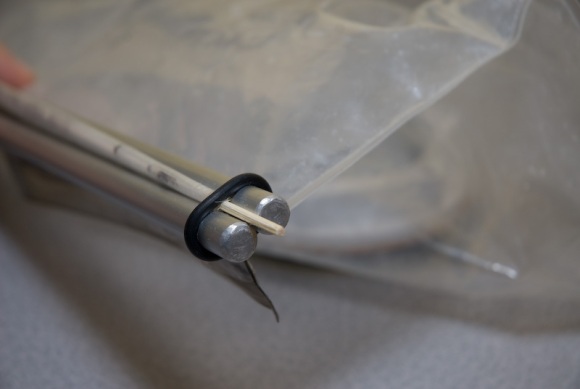
To make sure the seal on the bag wouldn’t open, particularly due the pressure of holding the bag, I cut two pieces of aluminum rods about 1″ longer than the length of the bag seal. I used the file to make a groove .5″ in from each end of the rods, so that a rubber washer could be cradled in it and hold the rods together extremely tightly.
Once your camera is in the bag and the zipper is sealed, fold the end of the Aloksak on itself. Slide the folded edge between the two pieces of aluminum rod so that the fold is on one side and the zipper and camera are on the other. Slip the rubber washers over the ends of the aluminum rods, then slip the thin dowel through the fold.
Now you’re ready to go snorkelling with your SLR. Have fun!
Oh, and just to give you an early warning system if you do have a leak, put an alka-seltzer tablet in the bag with your camera. If water gets in the bag, the tablet will foam up, and you’ll know right away to surface and protect your equipment.
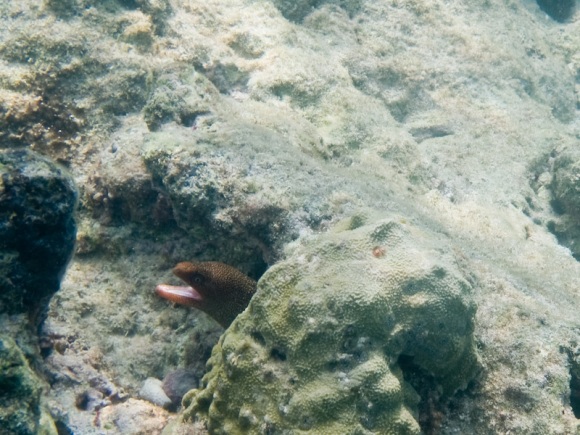
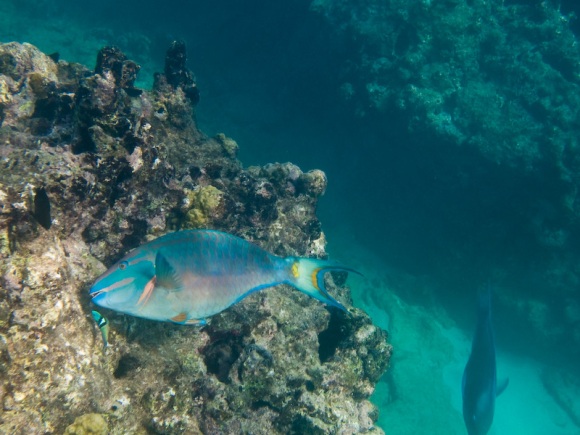
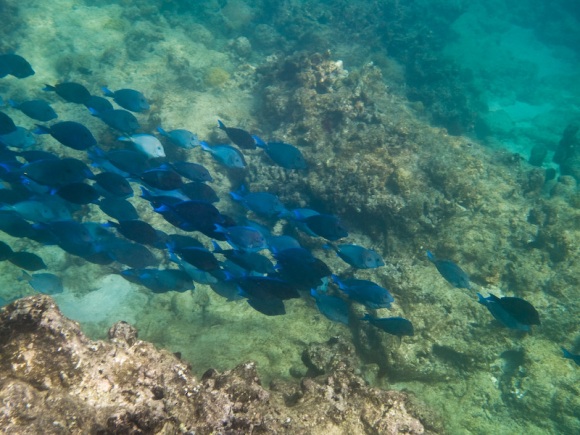
Here are a few photos I got with this setup:
To see where we went snorkeling and some more pictures, see http://travelsandtrails.com/place.php?place_id=98.
Note: This worked for me. I take no responsibility for any ruined SLR cameras out there. For the love of SLRs, test it in the bathtub first.
http://travelsandtrails.com
OK, so I haven’t been posting much for ages. That’s at least partly due to my work on Travels and Trails.com (it’s a good excuse anyway). It now has all the travel information and photos that my previous exploration section had, and is much better in many ways. There are still tons of things I’m planning to add, but you can already sign up and list your own places there, and browse everything – hopefully it’s much easier to find places.
So there you go. The exploration section is now gone for good. Check out Travels and Trails for the replacement.
Travels, Trails, and Tubes
For a long time the exploration part of this site has contained pictures and descriptions of a lot of the places I’ve been. It started out as zenphoto, and I started hacking it. I started by modifying themes, adding a bit in here and there. Eventually I added maps, because if you need one thing to describe a place, its a map. Unfortunately, a couple months ago, the service I was using to publish my maps shut down and my maps became unusable. While I was sadly deleting them (so the pages would actually load in a reasonable time) I got to thinking of all the shortcomings of my exploration section and all the things I’d like to do with it. Yeah, I love photography, but a gallery is only one of the important things to have on a site describing travels. You need maps, you need descriptions, in some cases you need more information such as elevation or distance or cost. The list goes on.
So I decided to build my own. And while I’m at it, I’m not just going to build it for me. I don’t get to go many places and I’d like to know about places I haven’t been to yet, so I’ll let other people add places too. Right now you need an email address to sign up. Considering the amount of spam I’m getting on this site, I need some sort of authentication system for users to add content, and I think an email address is best. If you think that’s a dumb system tell me about a better one in the comments – I might even change it.
With no further ado – Travels and Trails.com.
Keep in mind it’s still a work in progress. It will probably change drastically yet (If you think you know how it should change, let me know in the comments below). There are many parts of the site I’m still working on, and probably many bugs to fix yet. But hopefully it will work well for you. If you’re interested in travel or hiking, check it out. I have yet to add a lot of the places I have in the exploration section here. I’m splitting my time between programming and adding places, so it might take a while.
Sleeping in the Car
Am I naive? This summer I’ve been on lots of excursions to the mountains by myself, and I usually sleep in my car. I find some quiet forested side road or turn off, park the car, lock the doors, fold down the back seat and sleep with my legs sticking into the trunk. It’s quite comfortable, the car is old enough that’s it’s not airtight while still not having large enough rust holes to let the mosquitoes in. Then I can wake up at dawn, and get anywhere I want quickly enough that I can take pictures in the early morning light. It really works out quite nicely. No problems.
So now I’m thinking of going on a road trip to Yellowstone. I haven’t been to the states in ages, so I was reading up about longer road trips. I started reading Road Trip America, which is a really valuable site by the way – especially the forums. So I started reading about people sleeping in cars, which seems quite natural to me. Apparently not so to most people. I had to laugh when I read about the dangers of sleeping in your car. People seem really scared in the states. One place even talked about the possibility of private property owners shooting at you. And this seemed to be justified to them. But then I got to thinking, is it really that dangerous in the states? I can’t believe it’s that much different than here. Are people just more paranoid? Or am I just weird and do most Canadians see things the same way?
So anybody on Road Trip America who thought that it was ok to sleep in a car recommended only sleeping in a well-lit truck stop, and notifying the attendant so that they can keep an eye on you. This just seems backwards to me. Then you’re sleeping in a grungy parking lot, surrounded by traffic, with artificial lights blinding you. I would much rather find a quiet gravel road in the country, where you can watch the stars and fall asleep to the sound of wind in the trees, or crickets chirping. And what danger is there? Are there nefarious criminals patrolling backroads, looking for all the poor saps dumb enough to think they’re safe in their vehicle? And what, would they just shoot me, and then break into my car to get at the trail mix? Or maybe they want my sleeping bag to sell on the black market.
So tell me – is this a real danger or are people paranoid?
Adventures / Misadventures
I get up at 5 in the morning, pull out a couple granola bars for breakfast, and organize my daypack for the hike. Sunrise is at 6:11 but at 6 it’s still pretty dark because of the clouds. It looks like it will be an overcast day – not so good for pictures, but at least it won’t be too hot. I drive for a couple minutes to reach the trailhead, lock up the car, and start the hike. Right away I’m climbing, first through poplar, then mixed, and finally alpine spruce forest. It is a very long and grueling climb before any meadows appear – I’m all about the meadows. The first meadow is the valley between Mt. Stearn and ridge I’m heading for. Mt. Stearn is the shorter and easier hike, so of course I’ll be taking the right branch to the ridge. Right away, I’m climbing through more trees, which is a bit of a disappointment. The trail continues to climb, alternating between thick trees and small meadows. I cross rocky creeks, muddy streams, and everything in between. None of my maps have the trail on them, so I assume I’ll be heading up the first slope to the ridge. Nope. The trail follows the ridge all the way to the far end, and then climbs that slope. Finally I leave all the trees behind me! Meadows, scree and amazing views await! (until I get into the cloud of course – the clouds are covering the very top of the ridge) I arrive at a beautiful little lake, surrounded on one side by the mountain, and the other by open meadows.
Then I hear it – rumbling. Is that thunder or a rockslide? It can’t be thunder, these are overcast clouds, not thunder clouds. KABOOM! The flash and sound instantly flatten me. Was that instinct or did the sound knock me over? The lightning hit a couple hundred yards away. I’m currently the highest object in the meadow. KABOOM! Another one. Now it’s starting to rain, and at 7000 feet it’s cold. There is no kind of cover for a long way. So I start to crawl on my hands and knees through a freezing marshy meadow. My hands are white with cold, my pants are totally soaked. At least I have my rain jacket and a couple layers underneath. Lightning is still flashing all around, and the thunder is shaking me. Or is that fear? Or cold? Finally I reach a gully, so I feel fairly safe walking again. Now it starts hailing – pea size now – hopefully it doesn’t get bigger. The gully is getting slippery and slushy with melting hailstones. My mind races ahead to all the places where the trail is exposed. Can I avoid them? Now I’m thankful that there aren’t too many meadows. The storm doesn’t seem to be letting up. I end up making some detours through spruce thickets, thoroughly soaking myself. My brain finally realizes that lightning isn’t the only problem here. I’m really cold. I’ve heard that staying dry is the best way to avoid hypothermia. So much for that. There’s nothing I could start a fire with here either – everything is far too wet. I decide that the best thing is to just keep moving and get down off the mountain as quickly as possible. It’s about 5 hours back to the car, I should be able to do that. I grab some trailmix and speed up, letting my body create its own heat. Eventually the hail stops, and the rain slows a little. The lightning is getting less frequent. I continue to hurry down, and as I do the air starts to get a little warmer. Now I’m just thinking of getting into the car and turning up the heater full blast.
I get to the car and unpack everything – peel apart papers from my wallet (silly me – I forgot to put it in a ziploc bag), dump out my camera bag (there was half an inch of water in the bottom), and wring out my socks. And I shakily write down a few notes about my hike. Oh yeah, the ridge I was heading to? – Lightning Ridge.
Some notes:
– Lightning is often avoidable, it’s not smart to hike in storms – but the forecast was for 30% chance of rain
– Lightning only kills about 20% of the time – but it causes various levels of disabilities over 70% of the time, and alone on a mountain that would often kill.
Crowsnest Pass Trip
The tourist information people in Crowsnest are very helpful. They photocopied exact directions for the hike up to the Chert Mines on Livingstone Ridge for me. It turns out that the directions mislead me slightly. So instead of driving around on horrible roads trying to find the spot, I stopped at the base of a big hill and started climbing. This was in the evening, so I was expecting to stop on a convenient rock, eat my supper, and watch the sunset. Well, my plan commenced flawlessly, but after eating supper the sun still wasn’t setting so I climbed higher. And higher. It actually wasn’t that high of a hill, because I got to the top before the sun set, and puttered around there for a while, enjoying the light on the mountains. From the top I got a bit better idea of where I was, and where the directions might have been pointing me. I headed back down after enjoying the sunset, and found a place to sleep that I’d scoped out earlier in the day.
In the morning I drove to the base of Turtle Mountain and climbed it. I took the wrong path at first, met some other people who also took the same wrong path, and together tried to find the right path. After a little bit of scrambling, we found the real path and continued up the mountain. It’s actually a pretty simple ridge walk to the north peak, although the loose scree over solid rock can be slippery. The top is great, and offers a good view of where I went (and was supposed to go) the day before. You can see out to the prairies on the east, and mountains all around on the other sides. From the north peak the trail to the south peak looked treacherous, but I’ve heard it isn’t too bad. But I was tired and had to get home, so maybe I’ll do that next time. The walk down actually seemed longer than the way up, which is kind of weird, but I got down all the way on the correct trail. I found out at the bottom that the trailhead is very clearly marked with brightly yellow painted rocks.
The drive home was uneventful and enjoyable. Holidays like this make you appreciate showers though.
