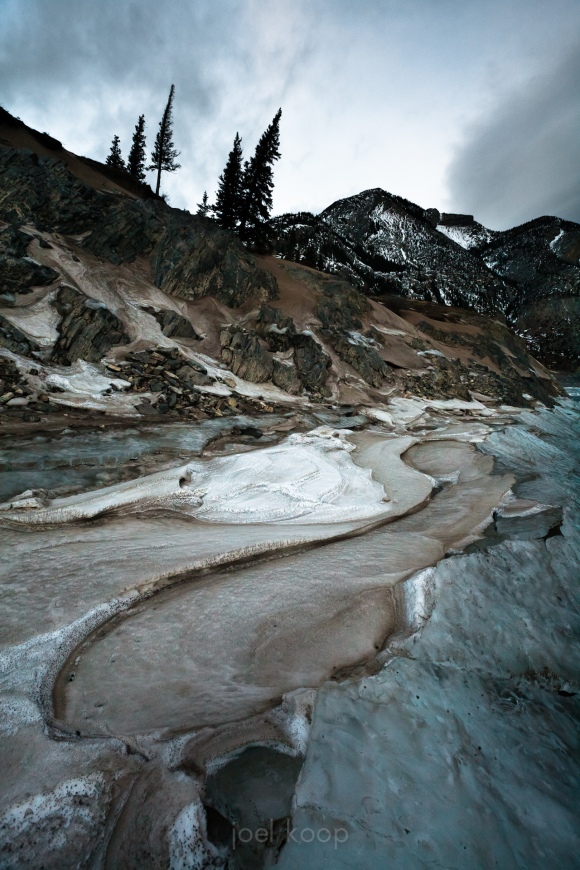
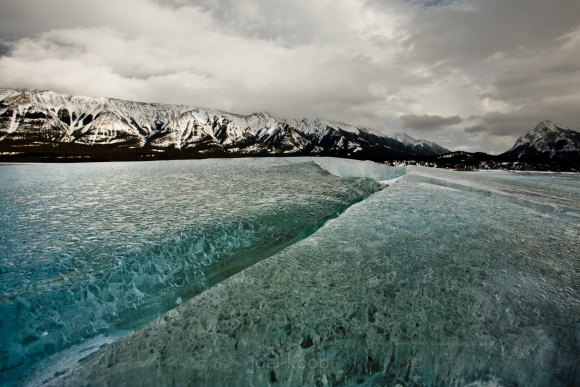
Today’s post is something a little different for me. A friend is interested in practicing her photography skills, and specific assignments are much easier to be motivated about than some abstract notion of trying to get better at photography. So today we start with the shutter speed assignment. These assignments are very loosely based on some of the photography assignments we had in Design 390 at U of A. Since I’m predominantly a nature photographer, my examples will mostly be nature. These concepts apply to any type of photography, and if you apply them to the kind of photography you want to do, you’ll learn more than if you try to duplicate these.
The goal of this little photography lesson is that when you come across something moving in your photographic adventures, you are equipped to make creative and smart decisions about how to capture it. If you just read through this and think about it, you’ll be able to make the decision. If you do the assignment, you’ll be able to follow through and actually get the shot you’re hoping for.
Shutter speed is a pretty basic concept, but the situations in which it has an effect can be pretty complicated. The shutter speed is the length of time that light can hit the sensor (or film). The shutter (in most SLRs) is made up of two curtains (one connected to the top, one connected to the bottom) that control this length of time. The longer that light hits the sensor, the brighter the picture will be — this is how shutter speed affects exposure (there are two other things that affect exposure—aperture and ISO, but we’re just focusing on shutter speed for now). If the scene changes while the shutter is open, you will get a blurred image. This is where it starts to get interesting.
Sharp Photos
Usually, people want an image they’ve taken to be sharp. This requires one of two simple measures.
1. Make sure your shutter speed is fast enough by manipulating your ISO and Aperture.
“Fast enough”, if nothing is moving, is generally considered to be 1/the focal length of your lens if you’re holding the camera as still as possible. So with a 300mm lens you want at least 1/300 of a second, for a 24mm lens you want at least 1/24 of a second. Image stabilization can occasionally save your photo if you can’t get shutter speeds quite this fast, but it’s not smart to rely on it.
If you have fast moving subjects like cars or flying birds, you’ll probably need even faster shutter speeds to freeze the motion.
Shutter Speed: 1/1000 of a second
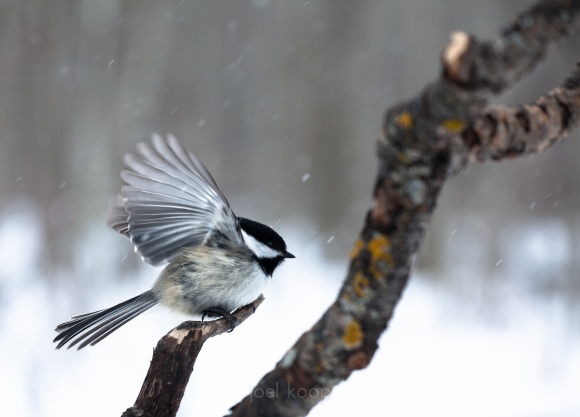
Shutter Speed: 1/800 of a second – this didn’t totally freeze the tip of the wing or the snow flakes, but pretty close.
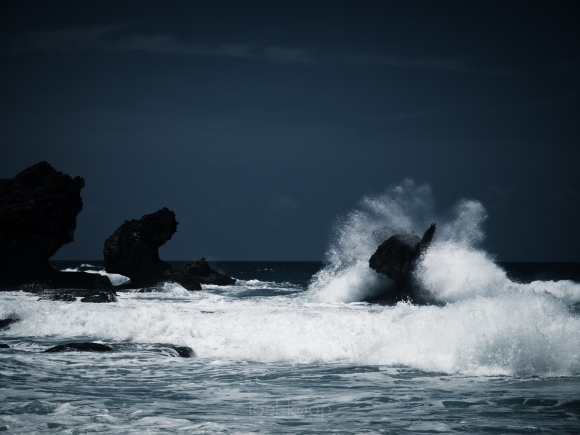
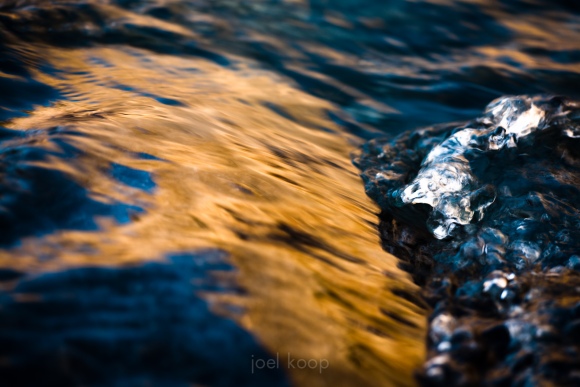
Shutter Speed: 1/100 of a second – in this case, fast enough to freeze the motion of the water.
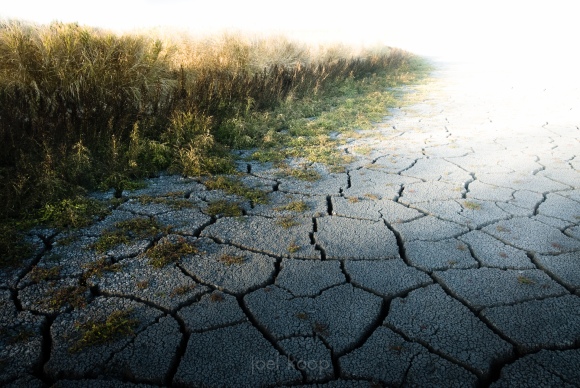
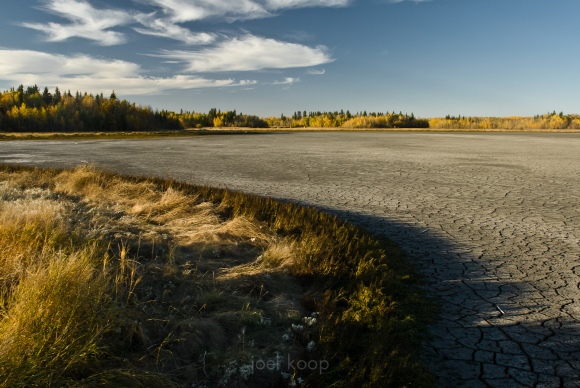
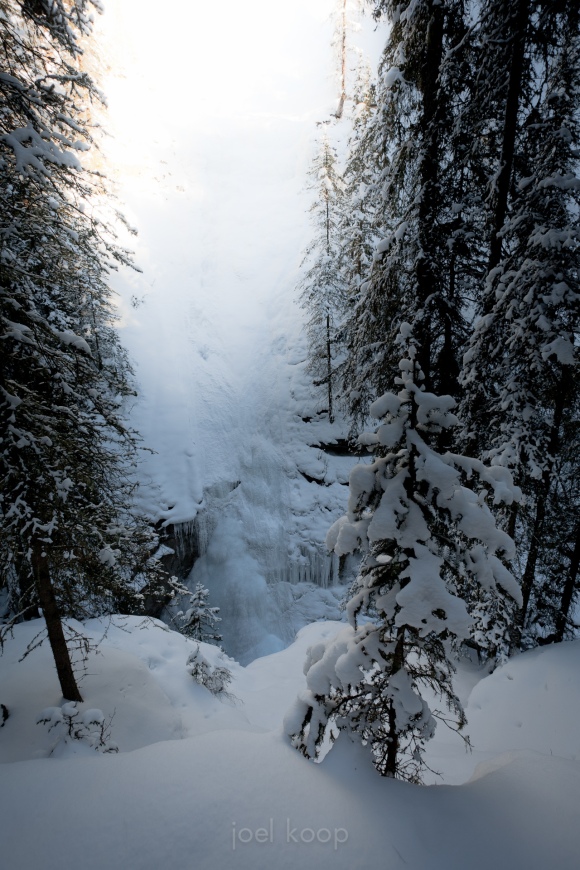
2. Put your camera on a tripod, and make sure nothing in the scene is moving.
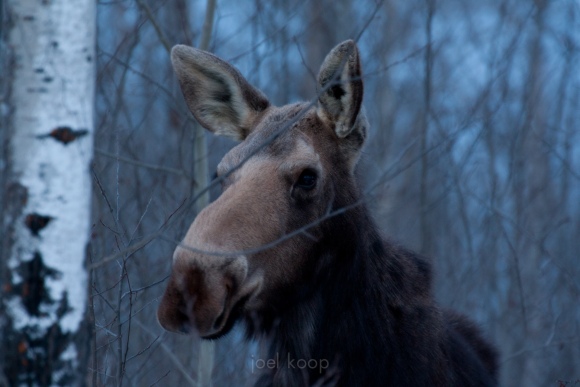
Shutter Speed: 1.3 seconds on a tripod – the moose stood perfectly still
Blurred Photos
Sometimes though, sharp pictures are boring. If you’ve got something moving, why not show it moving? This is where you start to get into the art of shutter speed. How much you want to blur things is completely up to you. And you have to experiment a lot to know how much something is going to blur.
There are two main ways to show motion.
1. Let the object that is moving blur and keep the scene sharp.
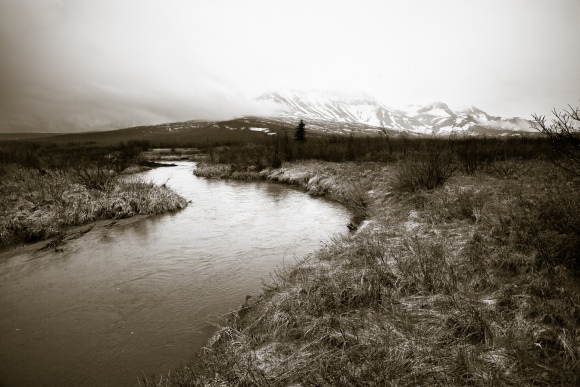
For this you probably need a tripod. If you’re keeping your shutter speed slow enough to blur motion, it is often too slow to hand hold the camera and get a sharp background. If the camera is locked down on a solid tripod, your shutter speed can get as long as you want, and the still things in the scene will be sharp
Shutter Speed: 1.6 seconds on a tripod.
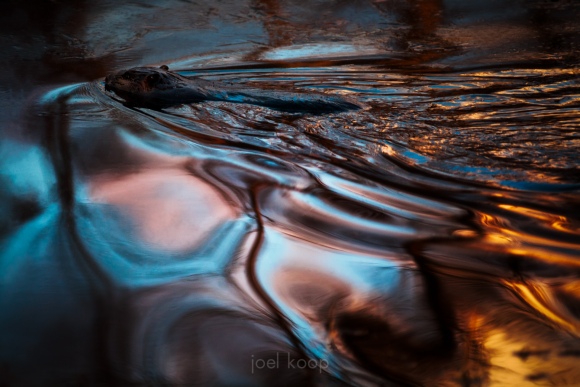
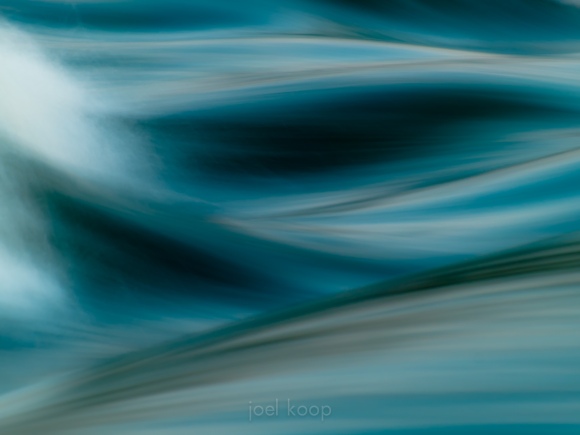
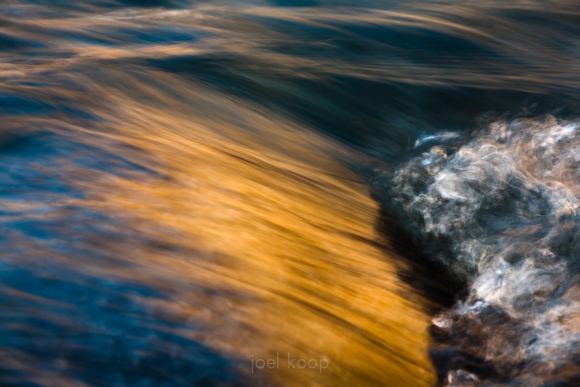
Shutter Speed: .7 seconds on a tripod – even though there are no still parts in this image, the pattern of the flowing water was constant enough that it gave me smooth lines. Without a tripod, these lines would not have been so defined.
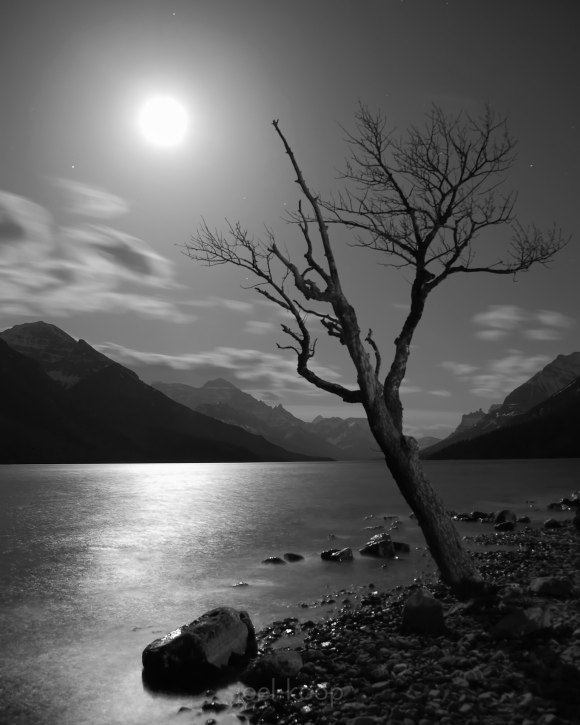
Shutter Speed: 20 seconds – the long exposure blurred the clouds
Shutter Speed: 1/4 of a second – the water blurred quite nicely at this shutter speed.
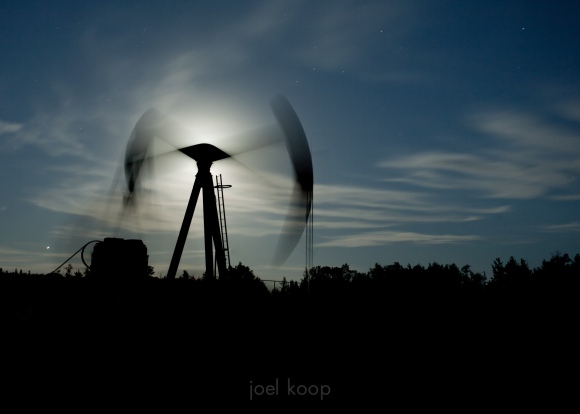
Shutter Speed: 3.2 seconds – during a pretty crazy wind storm
Shutter Speed: 30 seconds
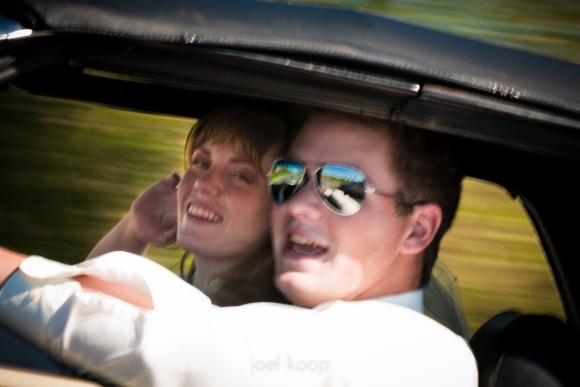
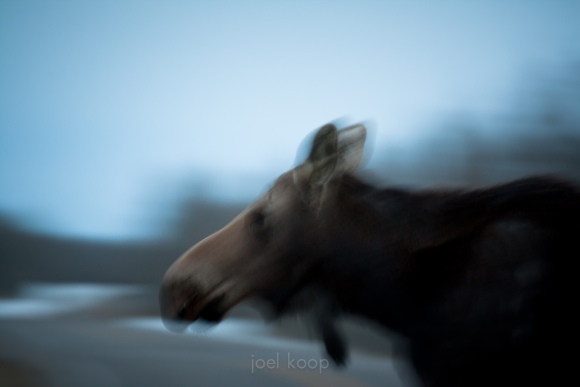
2. Move your camera with the moving subject to try to get it sharp, and let the background blur. Depending on the circumstances, this can range from fairly easy to completely impossible.
Shutter Speed: 1/125 of a second – This was at highway speeds, so this shutter speed was slow enough to blur. On the other hand, it was taken with a 150mm lens and the road was bumpy, so I wasn’t able to get the people perfectly sharp.
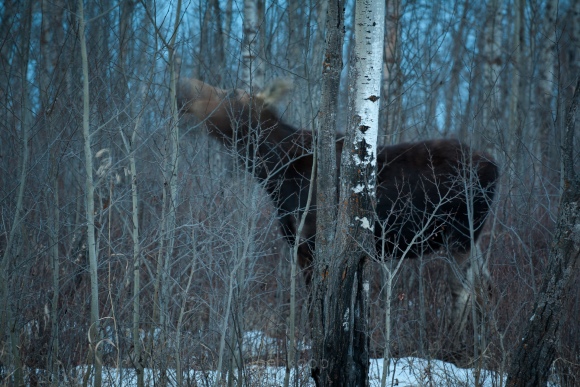
Shutter Speed: 1/6 of a second – I had my camera on a tripod to try to keep my camera still vertically while panning horizontally with the motion of the moose.
More Blurred Photos
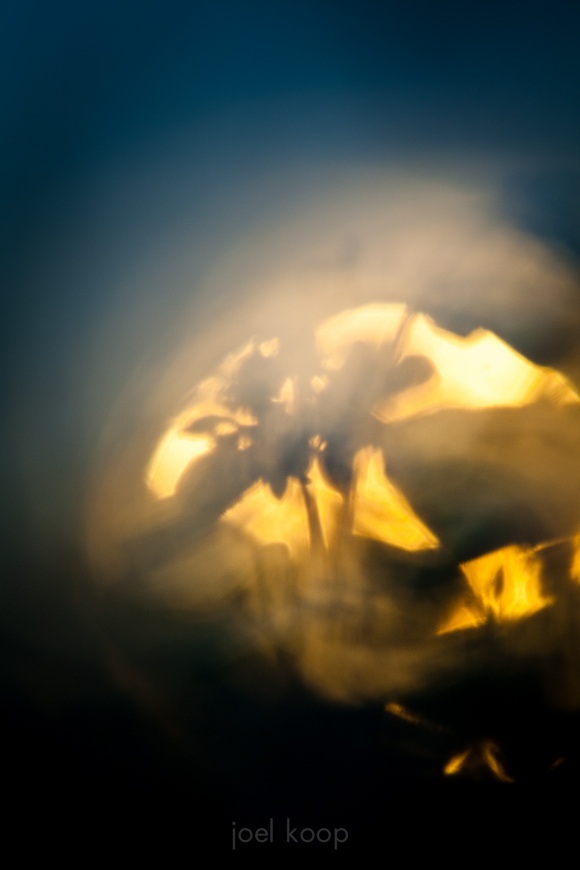
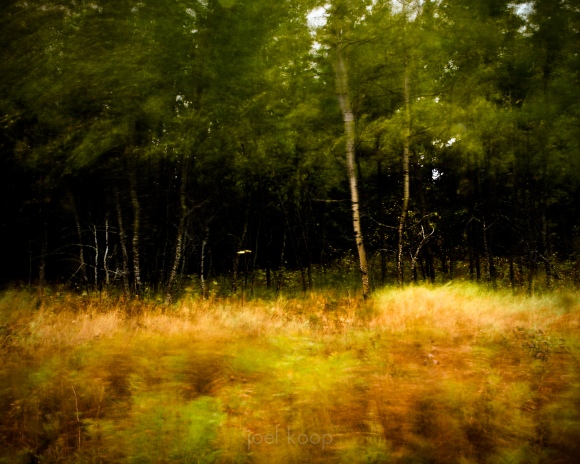
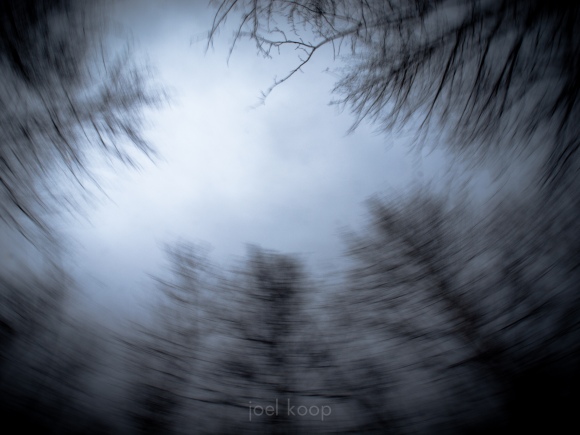
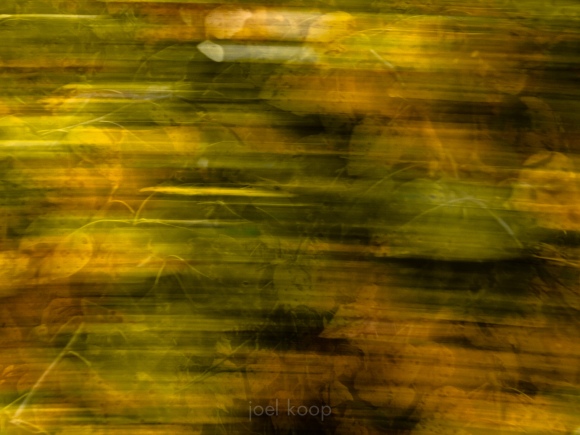
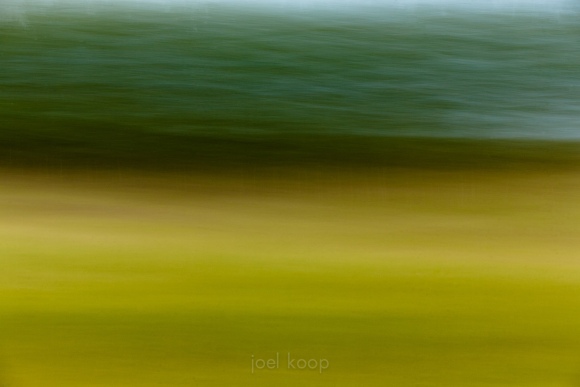
You can also create motion by moving the camera even when everything in the scene is unmoving.
Shutter Speed: 1/25 of a second.
Shutter Speed: 1/2 a second.
Shutter Speed: 2.5 seconds.
The Assignment
Find or create a moving subject — all photos should have the same subject. This could be absolutely anything. You can cause it to move, nature could cause it to move, other people could be moving it. Then start taking photos. I know this adds pressure, but try to make the photos interesting: well composed, well lit, with an engaging subject. It is possible that you’ll end up taking a lot more time thinking of moving things that would make awesome photos than actually taking the photos. This is the way it should be.
The deliverables are:
1. Sharp photo that shows motion. But it should be obvious that the object is moving. A ball in the air is obviously moving, where a ball on the floor could be moving or could be still.
2. A photo that blurs the subject.
3. A photo that blurs the background, and has the subject relatively sharp.
Something to think about:
What are the implications of each shot? Is the subject or the environment highlighted? Is one more important than the other? Does one photo seem more active than another? Are you caught up in the action, or are you a bystander?
